create jewels
with epoxy resin
Tutorial
Before pouring you should ensure a few things:
Is the model sanded perfectly enough for molding?
Is your workplace absolutely clean and, above all, dust-free?
Are all the utensils available, especially cloths, mixing sticks and perhaps a mold for excess resin that you want to pour out later?
Can you store the mold well and safely for it to harden?
preparations
Before you start
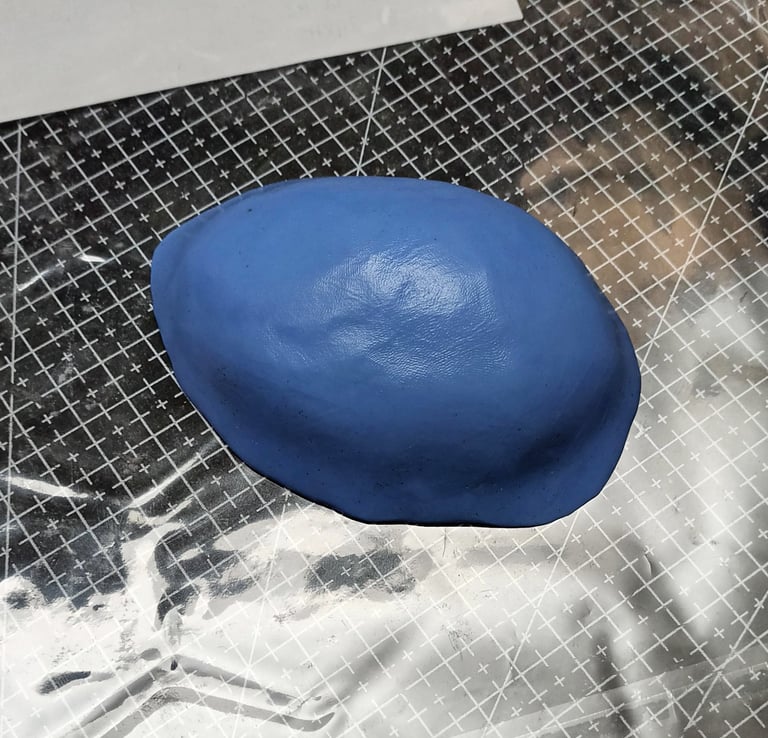
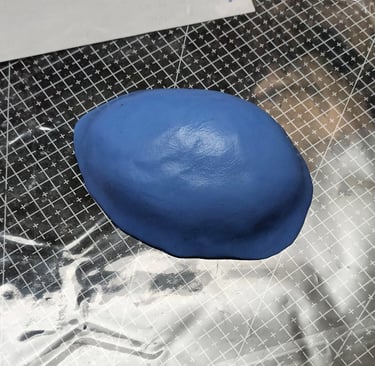
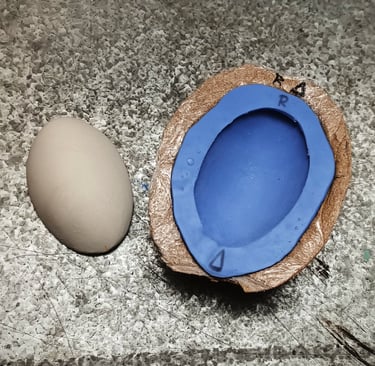
For my Ja-Kal bracers and leg bracers I need four similar turquoise gemstones. I previously made all four from air-drying modeling clay - this time there is a perfectly shaped stone that will serve as my model for all four.

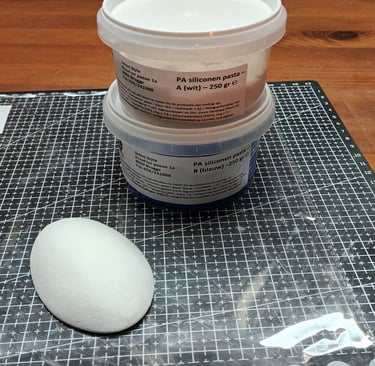
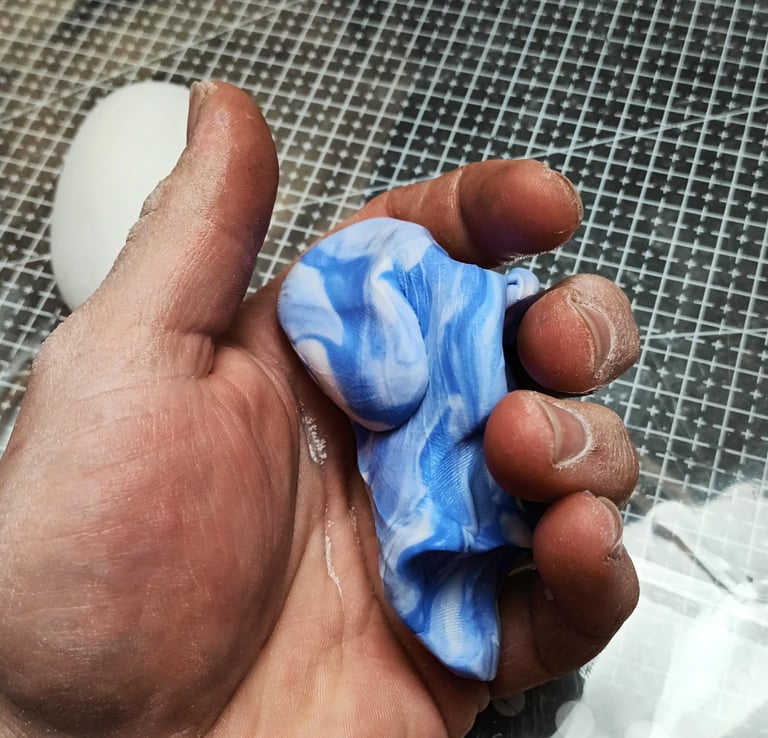

For molding I use two-component silicone paste, which is kneaded in equal proportions until the mass has a homogeneous color. Since the silicone paste hardens in just about 15 minutes, kneading should be quick.
After about 30 seconds of kneading, the whole thing looks usable!
making your mold
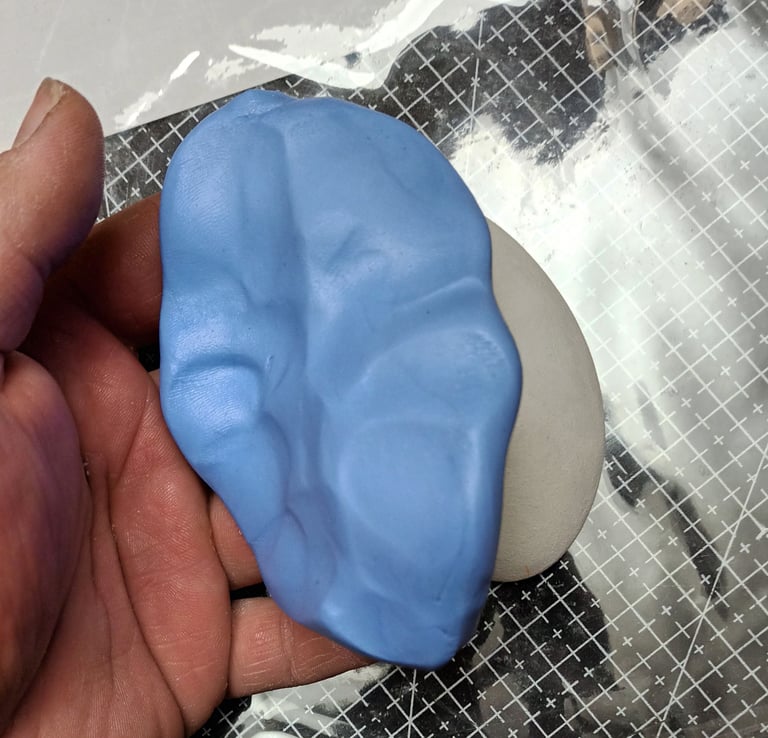
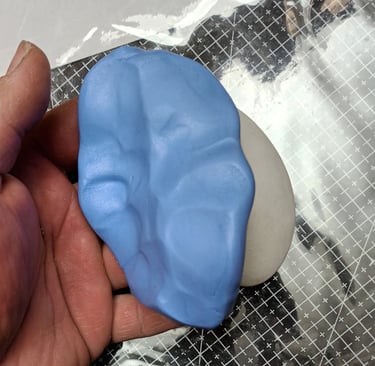
After kneading, immediately begin pulling the silicone over the molding part. Make sure that no air bubbles are trapped!
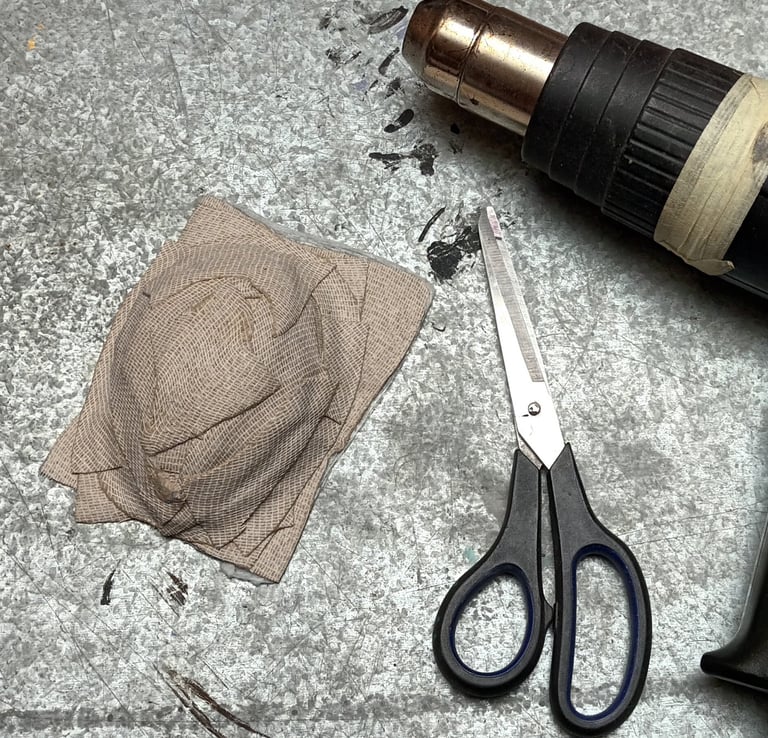
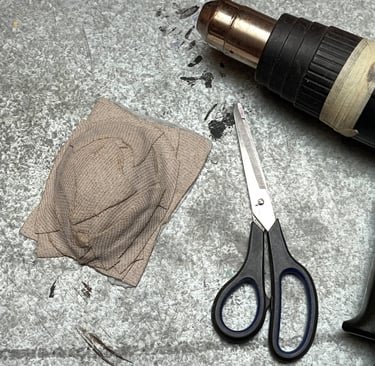

Once the silicone has hardened, you can cover it with some leftover Worbla material so that it retains its shape when filled with resin.
Now carefully cut out your object and give your mold and formholder a few reference marks if it has an almost symmetrical shape!
stabilize the mold
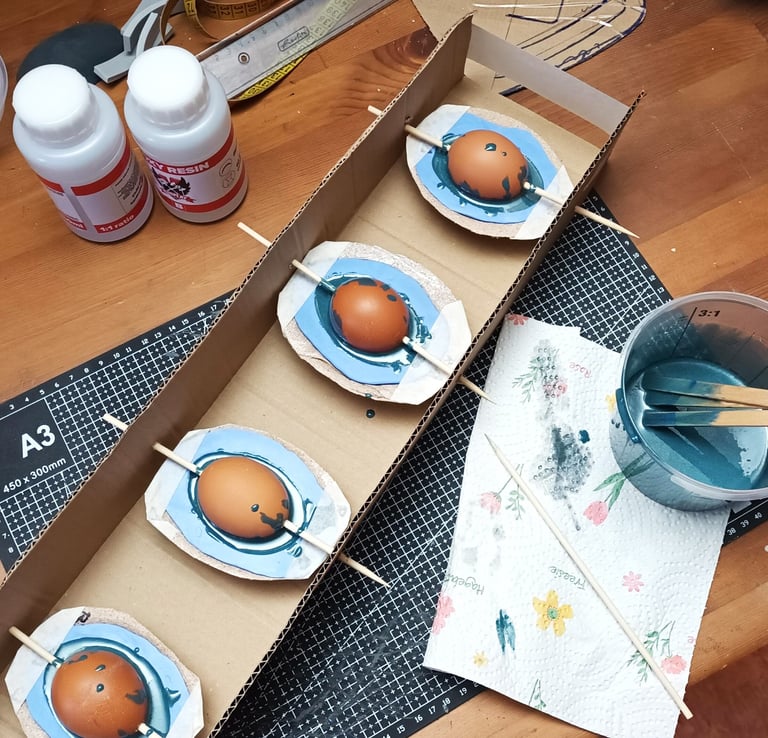
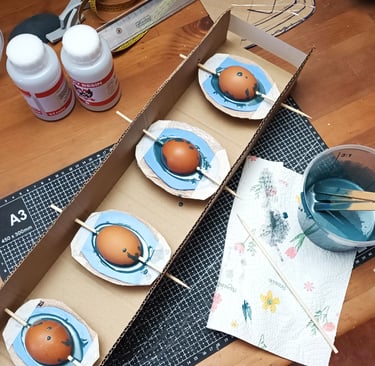
I added silver pigments and some acrylic paint to two-part epoxy resin until I achieved my turquoise tone. You should be VERY economical with the paint. A little white will help you if the color gets too dark. Mix everything very well and pour into the stable molds. To save resin, you can place smaller shapes in the mold... blown out eggs came in handy for me.
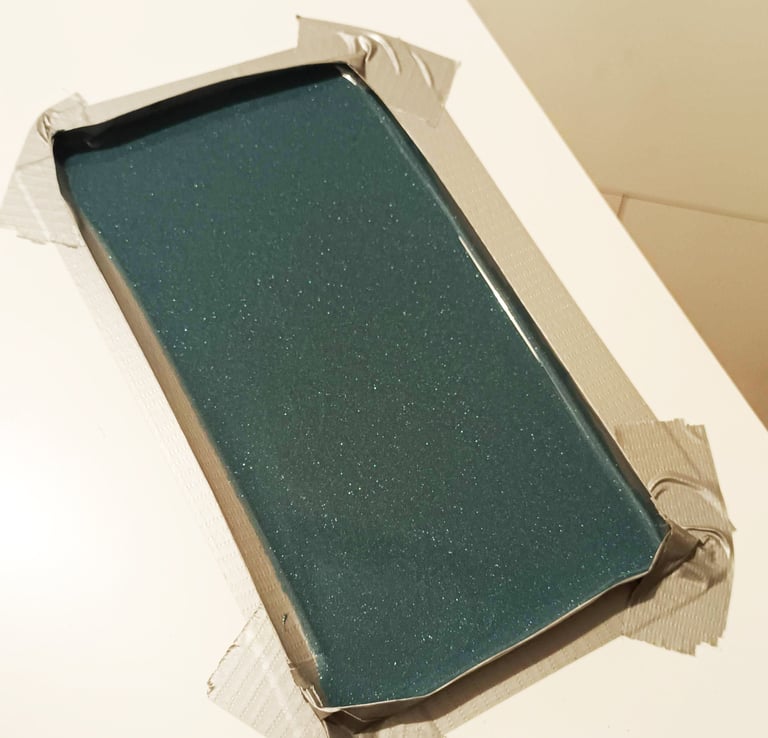

It's better to mix a little too much resin than too little! I poured out the excess resin flat on a plastic plate with a duct tape edge. Maybe I can use it later for other details.
When the resin has hardened, you can carefully remove it from the mold and then sand it further with fine sandpaper if necessary to get an absolutely smooth surface. Start with 180 grit, then switch to 240 grit and wet sand with 400 grit or even higher to achieve mirror-smooth surfaces. When you finished painting and sealed it, for example with a shiny spray film, you will get a wonderfully reflective surface.
pour & store it to harden
Onlineshop
Social Media
Contact
© 2026 | The reproduction of any content without my permission is prohibited.
Sustainability


With this label we would like to show that we are a customer of Der Grüne Punkt - Duales System Deutschland GmbH in Germany and that our sales packaging for the German market participates in the dual system Der Grüne Punkt.