DIY: Crafting a
creature mask
Tutorial now available online!
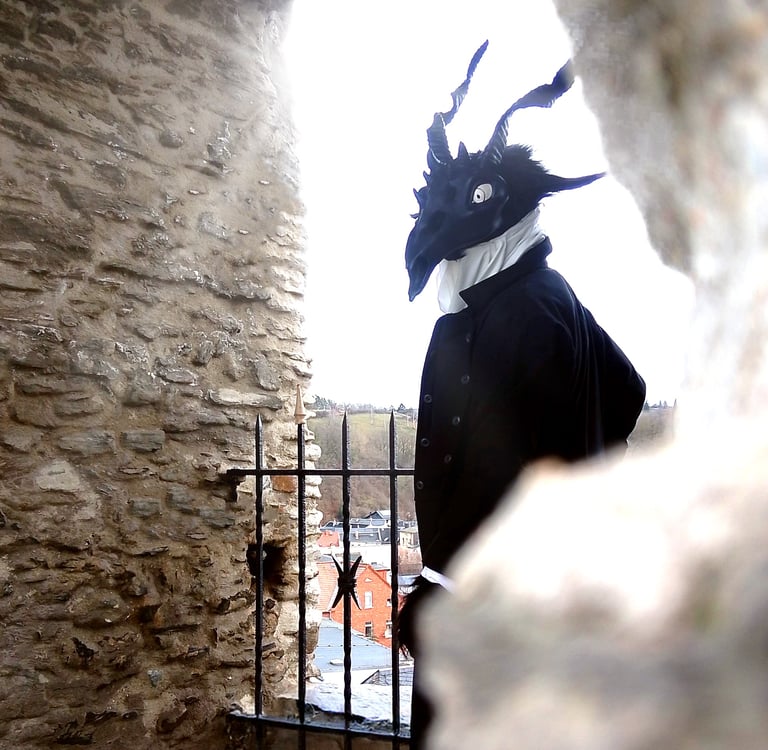

Craft your own creature mask with my basic tutorial! Start from sketch and follow the detailled instructions to create your own awesome head mask.
The guide includes list of tools & materials, planning, dummy making, construction, adding details, modelling, painting and useful tips for wearing it. Now available in English and German!
Get the complete guide on Etsy!



EVA foam in 2 / 5 / 10mm thickness
foam clay
Worblas Meshed Art, Finest Art and KobraCast
light acrylic structure paste
plaster bandages
finer wire mesh
priming, painting and sealing stuff for the foam parts
hot air gun, hot glue gun, sculping tools, brushes, sponges, sharp knife, cling film, masking tape, duct tape, permanent marker, pens, paper or lighter cardboard
a stretchy fabric
whool, hair and/or synthetic fur
a mirror or a helping hand
tools and materials
You'll need:
– OLD WEBSITE DESIGN! –
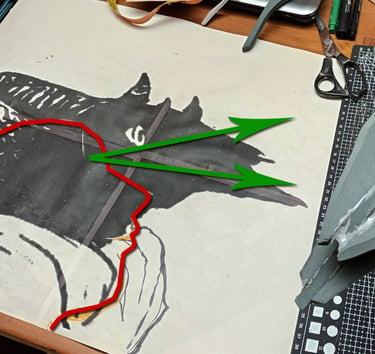
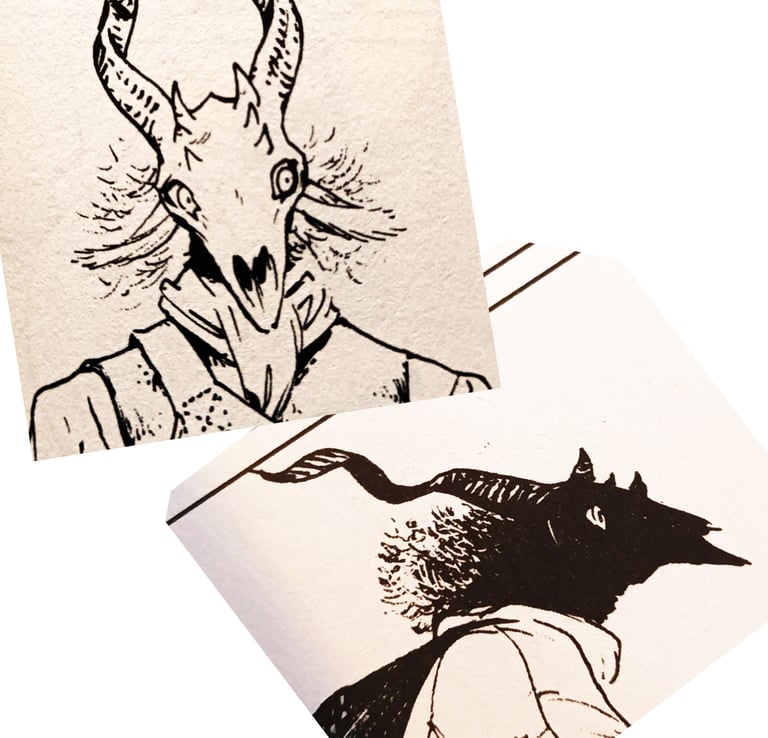
Search for highly detailed pics of the front and side view of the head and scale the head measurements to your body size. Print it 1:1 and put them next to your workplace, you'll need them very often!

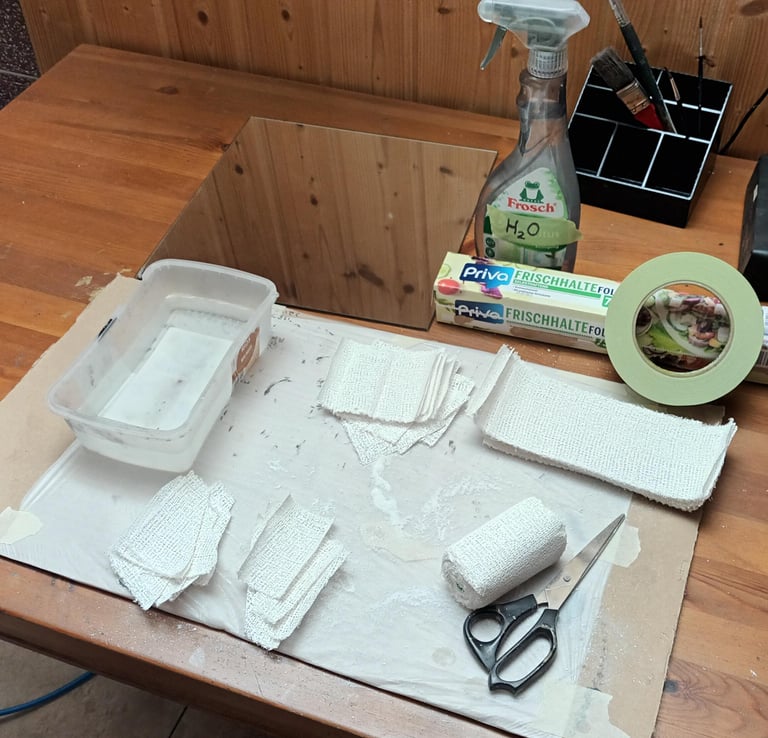


Wrap your head with cling film and add at least 3 layers of plaster bandages. Don't forget breathing holes!
You can build the head dummy alone with help of a mirror, leaving the eyes out and leaving a gap on the back of your head to remove it later, but a second person is a smart choice.
Lay the head dummy on the 1:1 sideview print and plan the correct angle. Consider where the mask could hook to your head and where you can place inconspicuous gaps to have at least a bit of sight later.
planning your head dummy
Cover the head with cling film, then cover it with KobraCast - this way you can take the mask easily off your dummy later.
Now take a good look on your print and add vertical and horizontal layers for a base framework out of 10mm EVA foam. Fix it with hot glue or contact glue. Leave it a bit smaller then it should finally be, ~5mm.
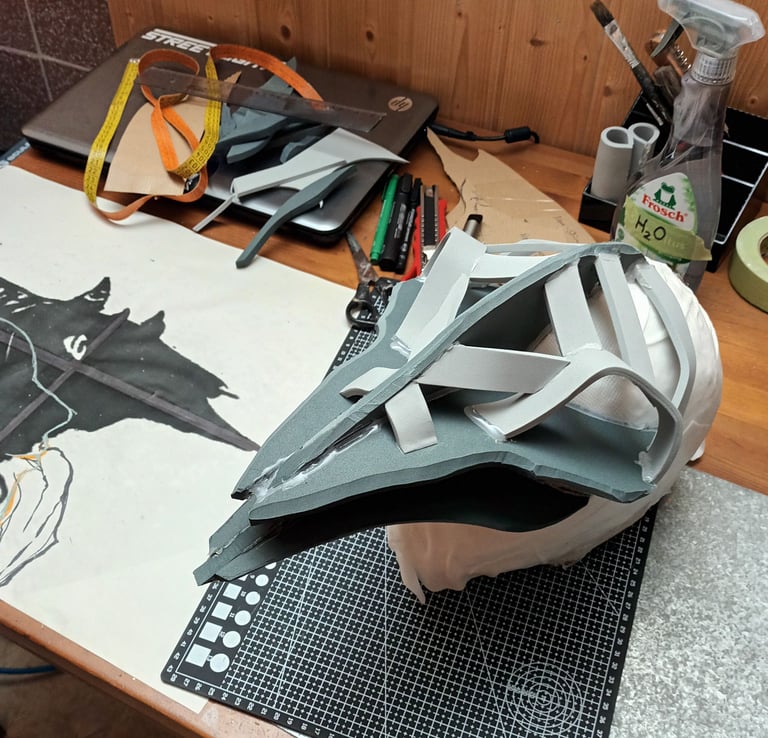

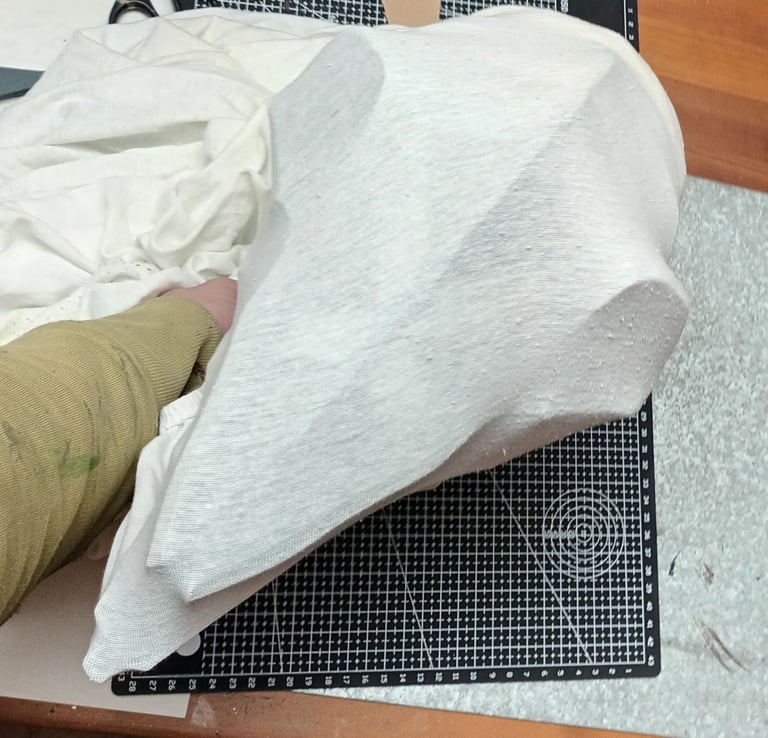

Add threedimensional framework with thinner EVA foam parts and check the outer form with a stretchy fabric or something similar.
Take a look on it from different angles and compare it to your 1:1 prints. This process is really important for the final result, but you'll still be able to cut and correct the form later if something looks weird to you.
build the basic framework
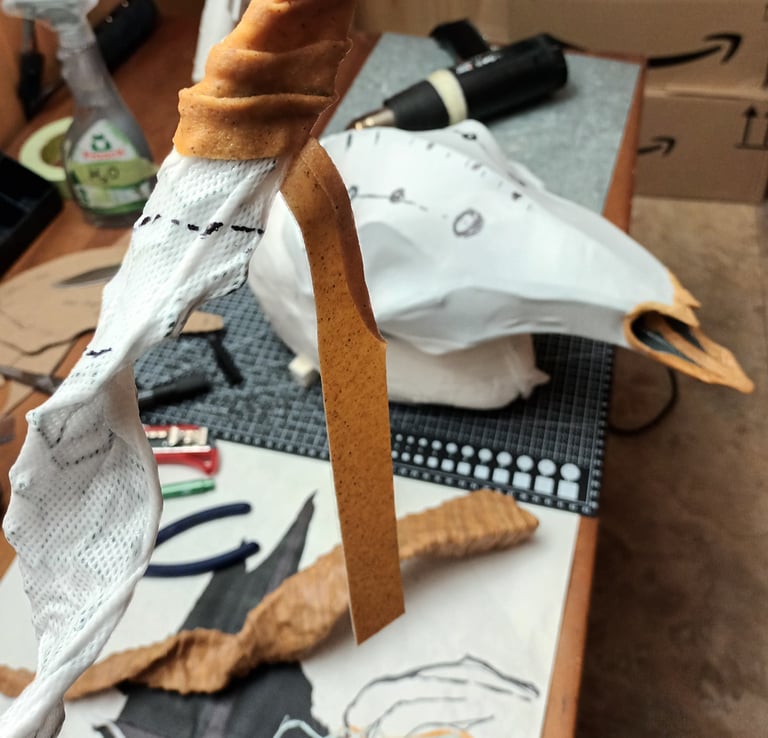

Cover all parts with KobraCast to get a first smooth and lightweight surface to build up on.
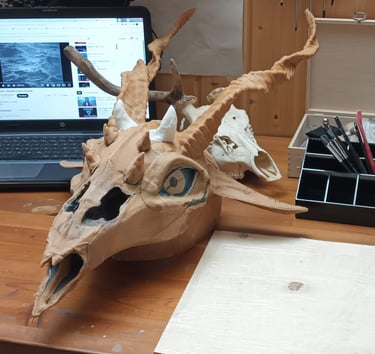
Long, thin details like horns you can construct with finer wire mesh to stabilize it. I like to wrap layered Worbla Finest Art around it to get the effect of twisted horns.
Add smaller details if you want and fix them with hotglue points and Worbla Finest Art on your mask.
Cover all with Worbla Finest Art and don't forget to cut out your holes to look through.
Also harden open corners of KobraCast with Worbla Finest Art as you can see I already did around the nose.
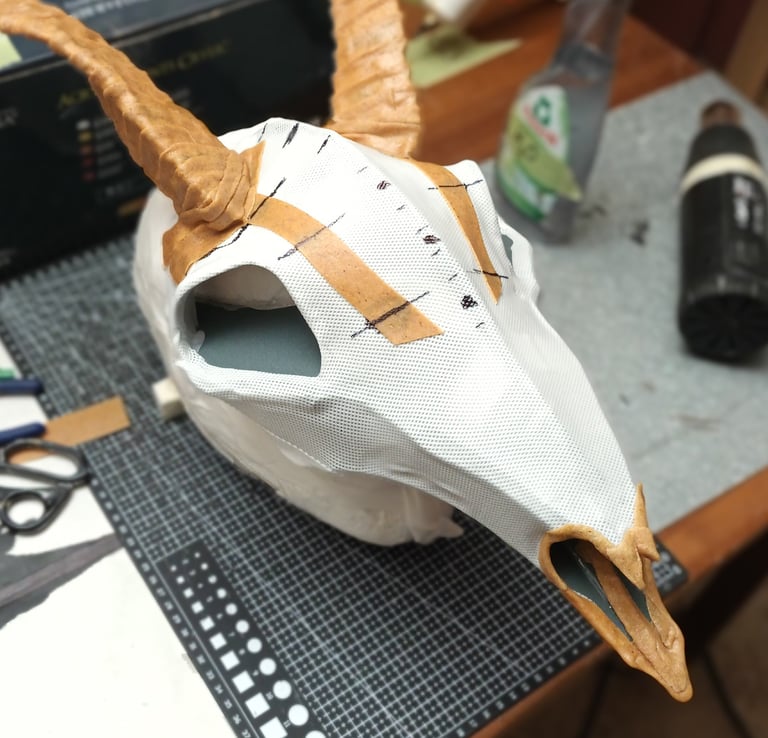


Check the whole form again: Now is the best time to do a bit of plastic surgery if necessary.
Smoothen the edges of the Worbla parts with a rotary tool, sand all of the the Worbla areas and put a closed layer of foam clay over it. Also use foam clay to build a smooth transition from the head itself to added pieces.
add details and smoothen it
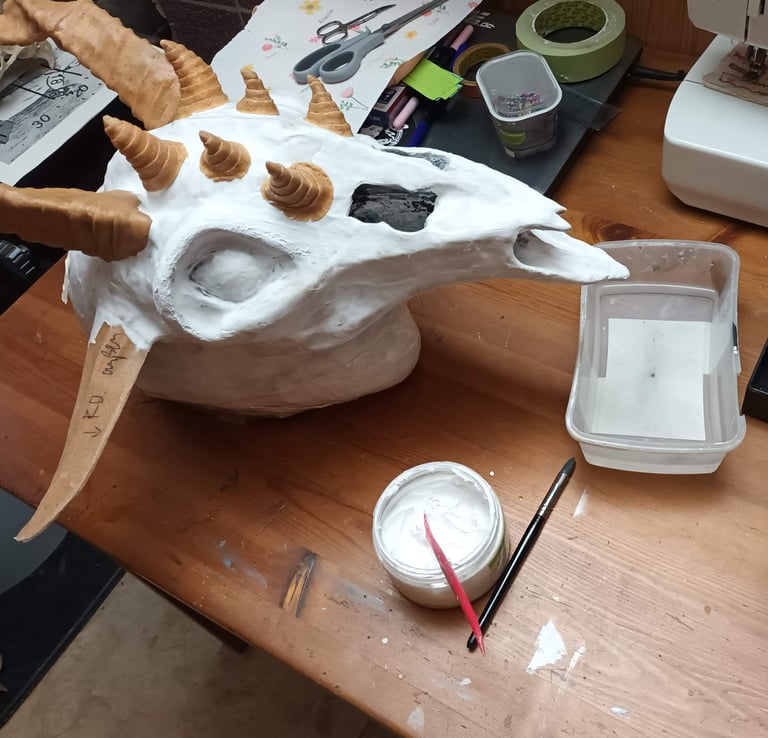

Let the foam clay dry completely and sand it carefully without ripping wholes in it.
Put on light acrylic structure paste for a really fine and easy-to-paint surface. As the name says, this paste is also very nice to add structures! Repeat it until you are really satisfied with the whole surface.
When working with light acrylic structure paste, make use of sculping tools for tricky places and a bit of water to smoothen the borders.
With fine sanding paper (around 180) you'll get the best results.
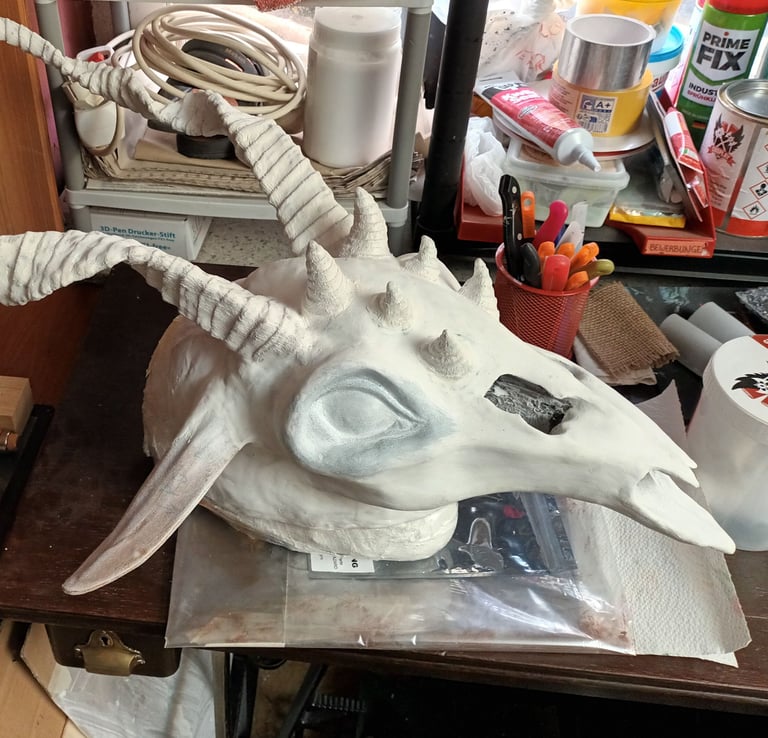

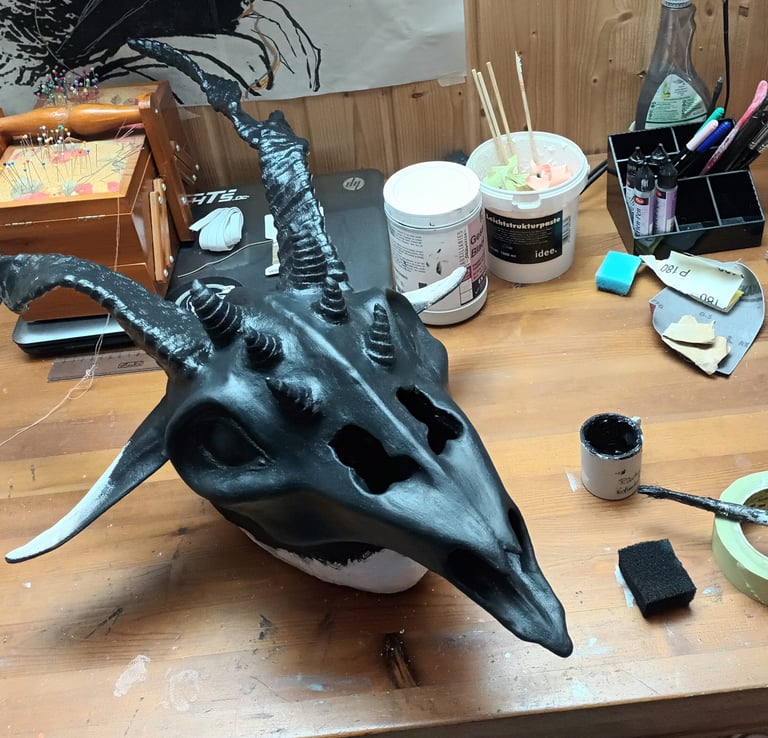

Now that you have spent lots of hours it's time to paint your mask.
For painting without fighting annoying brush strokes take a look on my other tutorials. You don't need an airbrush equipment for that.
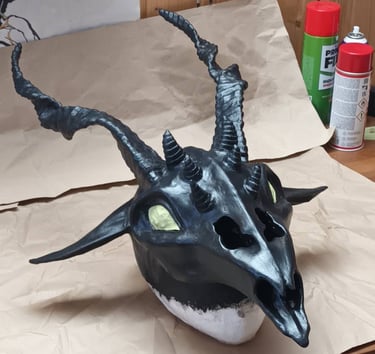
paint and finalize your mask


Work out details like painting the eyes. I put a layer of shiny coating on the eyes, correct their borders and covered them to spray layers of matt clear coat over the rest of the head.
Now add final details like whool, hairs, a beard, etc.
To fix the mask on your head while wearing it make use of an elastic band on the backside of your head.
extra tips
Cover the area where the mask ends in your face with a shawl, scarf or high collar.
Onlineshop
Social Media
Contact
© 2026 | The reproduction of any content without my permission is prohibited.
