build your own
cosplay props!
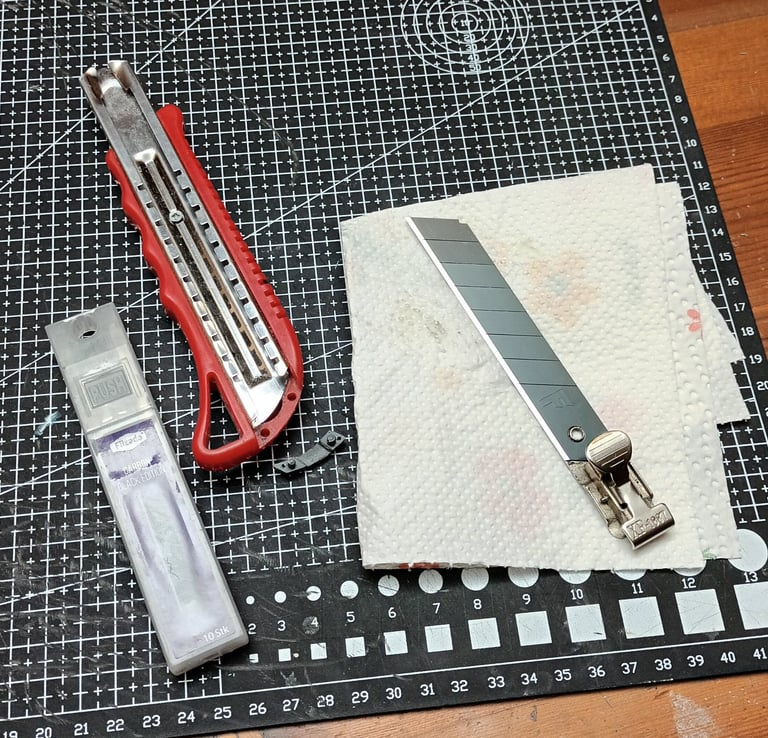
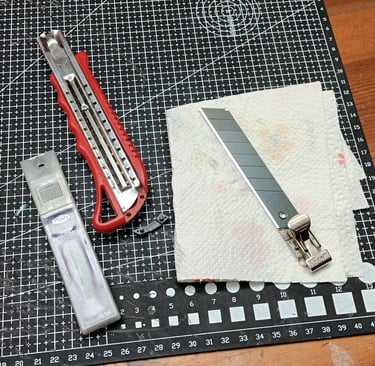
Basic workshop
If you just want to create a weapon you like the most to show in your home or want to craft a proper replica for you cosplay costume, this tutorial will get you into the basics of cosplay prop making.
Most times people will re-build an existing weapon – so before you start crafting, make sure to have trustful templates of all important angles!
preparations
What do you like to create?
As mentioned above, good templates will help you a lot to build a great replica.
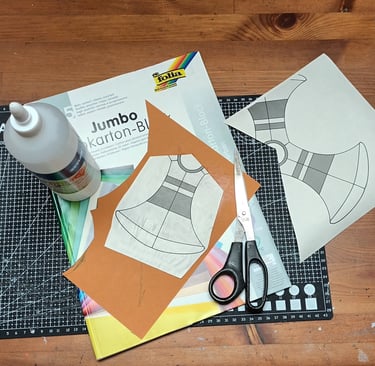
Let's create a undistorted pattern first and make sure it's scaled right to your size. Of course you can do this by hand but most times it's easier to work with image editing software.
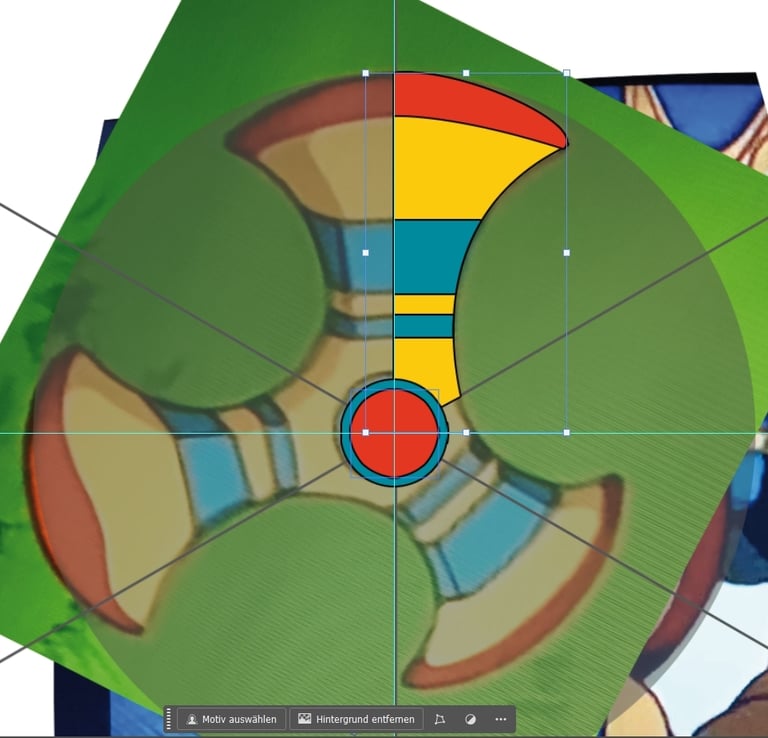
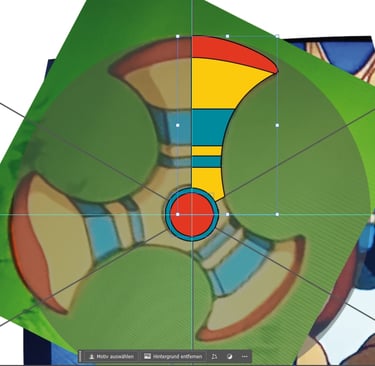
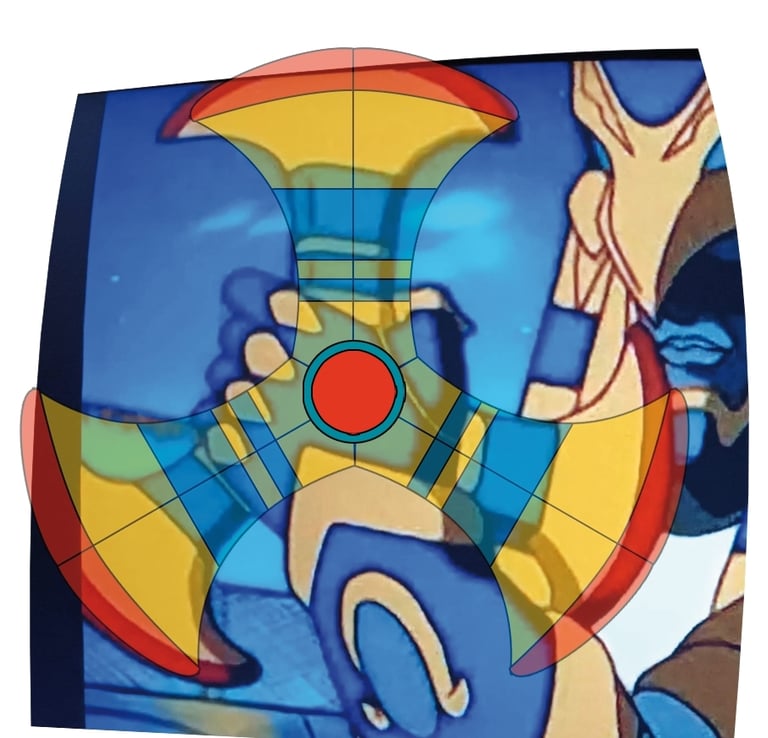
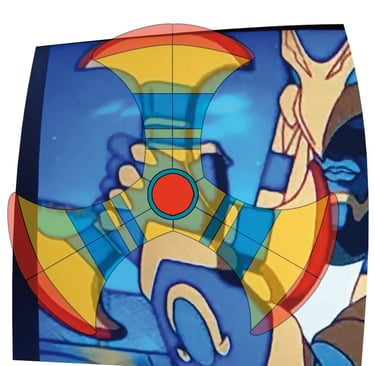
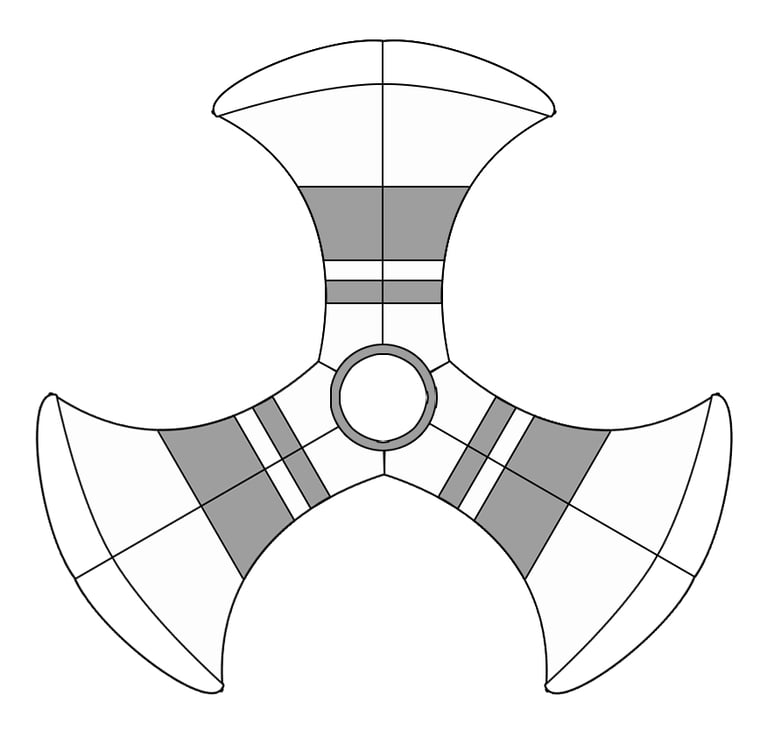
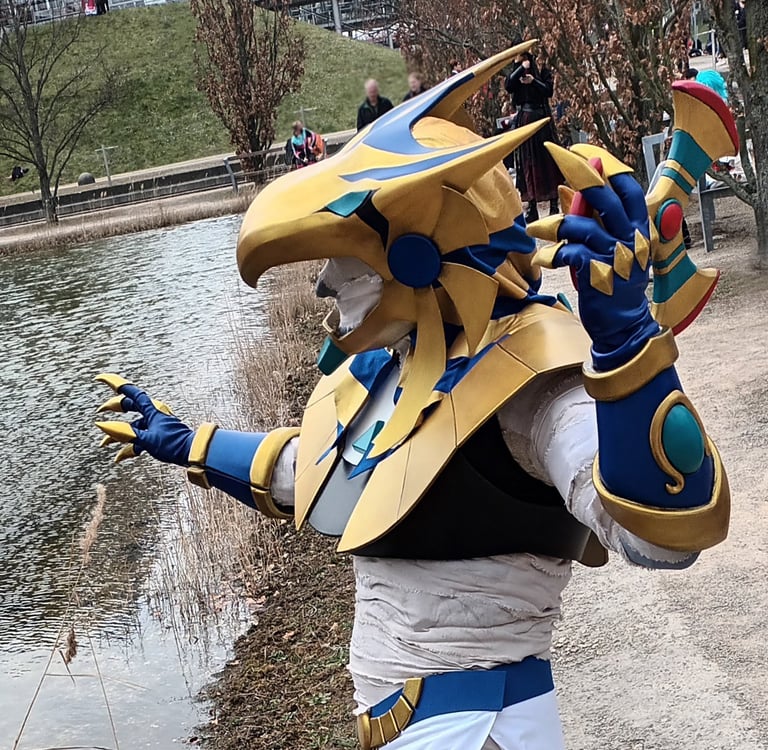
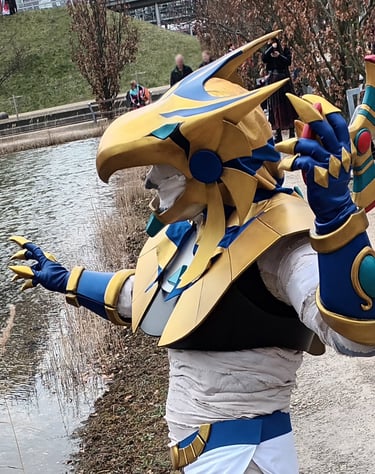
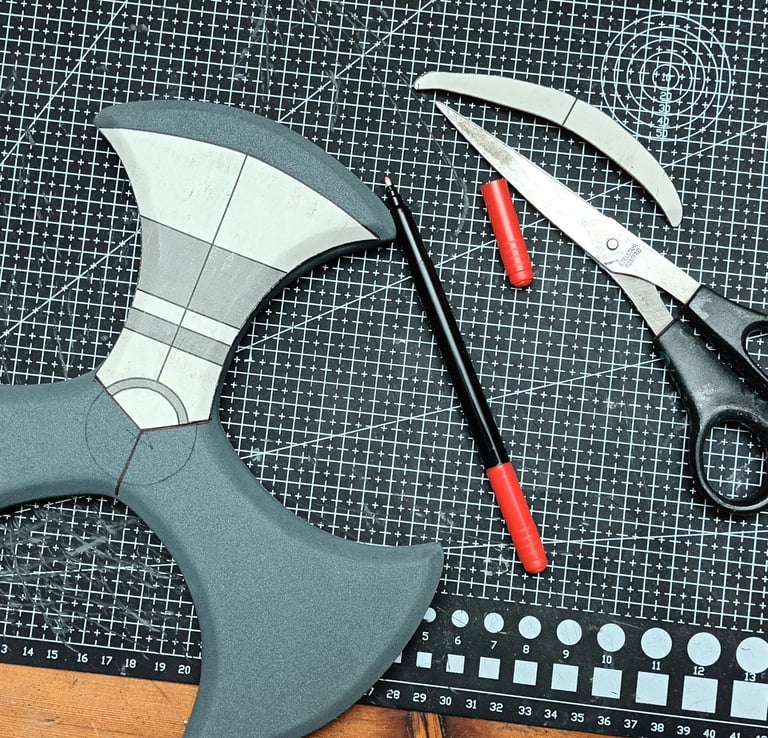
While creating the pattern of Ja-Kals geometrical Boomer-Ra, I modeled one sector of the weapon and used ledger lines in 120° angle steps to put it together again, free of distortions.
To save a lot of color printing it, disable all background layers and switch it into a light monochrome image. If necessary, split your template into different pages belonging on what size your printer is able to put out. Check the size after printing!
creating your own template
It's nice to have your template on a bit stronger paper to transfer lines easier on your basic material. I glued mine on some rests of photo cardboard.
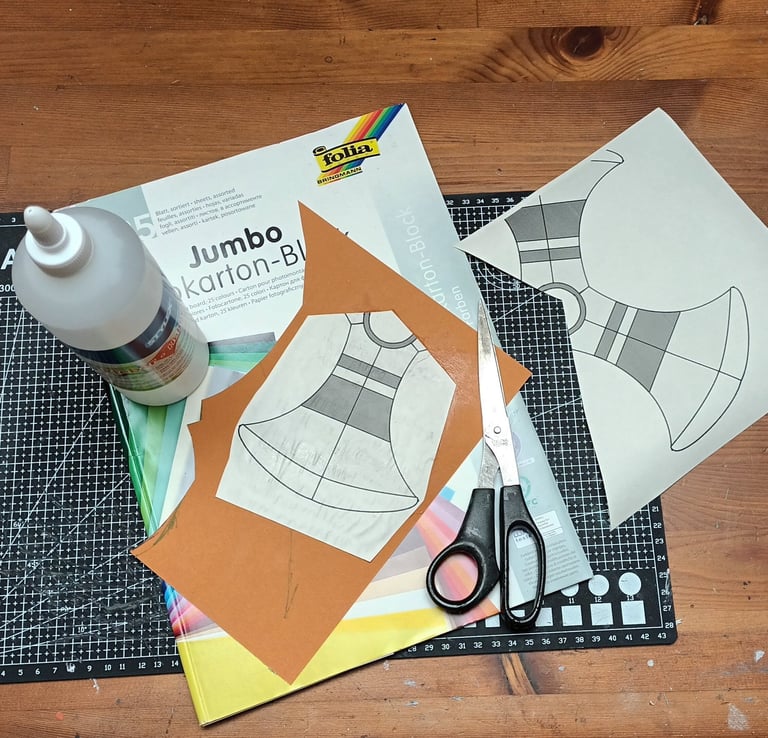
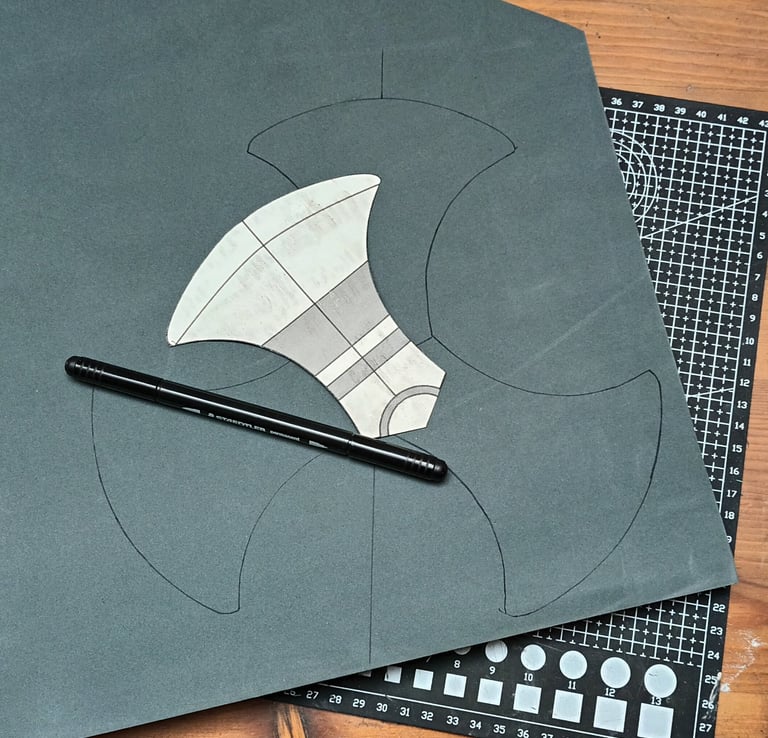
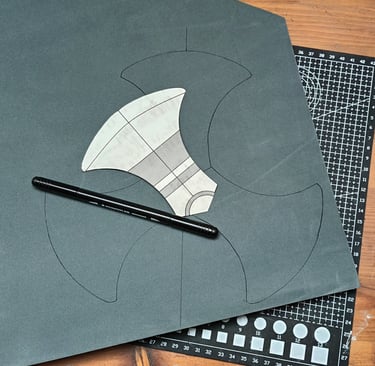
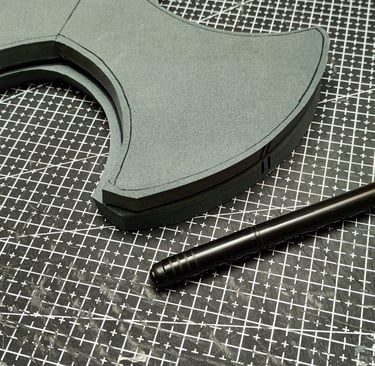
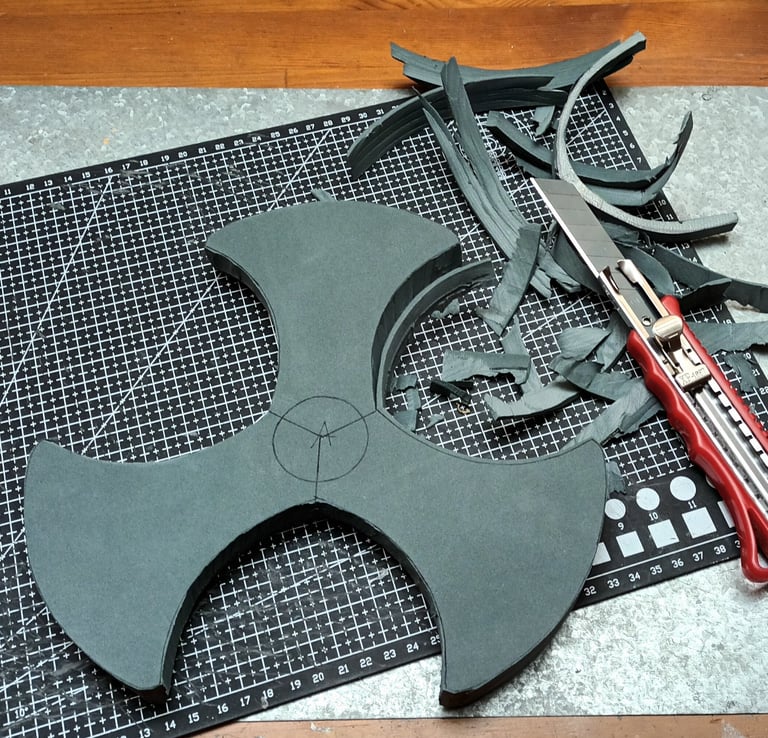
Transfer your outcutted template on your material. For the Boomer-Ra, I decided to use two layers of 10mm EVA foam without any stabilizing rod in it cause it's not really big enough to wobble. Be very precise in this step! It will become inaccurate all by itself ;-)
It's recommended to use a fresh, sharp blade to cut things out of thicker EVA foam. Carefully remove any oil that sometimes clings to new blades to avoid future color incompatibilities.
working with your cosplay prop template
If you're working with multiple layers, try cutting it out and leaving a bit of extra space next to the outlines. This way you can easily get rid of small gluing mismatches later!
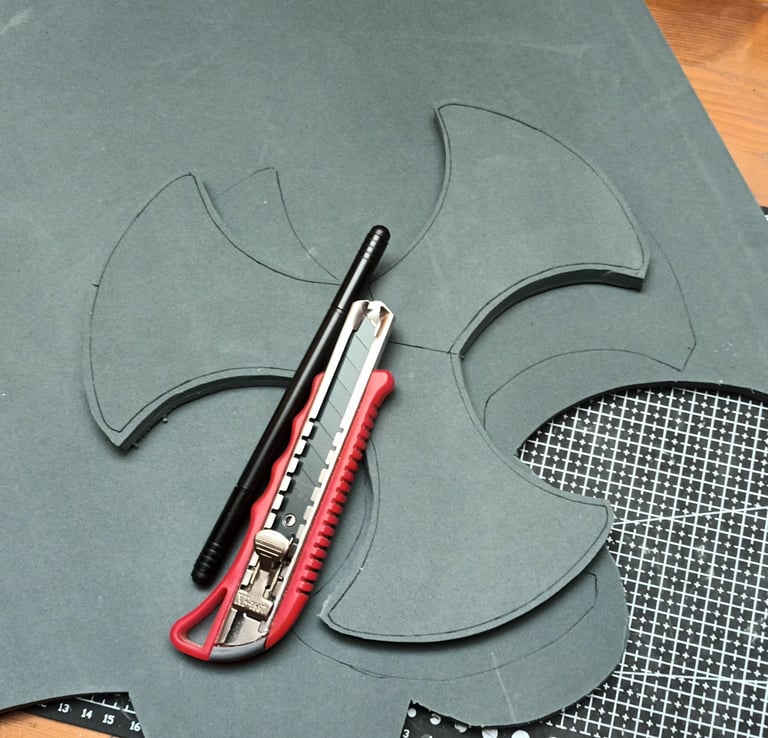
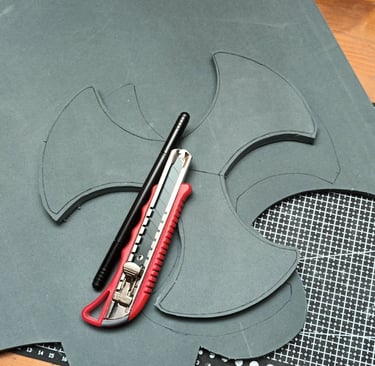


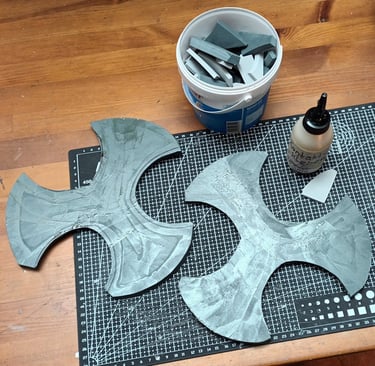
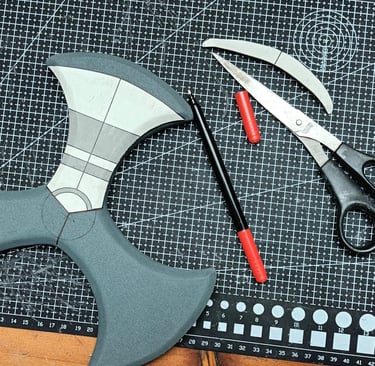
As you can see, I wasn't very accurate with the cutting angle – but that also doesn't let me worry.
Dry-fit the parts and add some fitting marks with a permanent marker.
Contact cement is a good choice for permanently connecting EVA foam parts. Quickly apply a thin layer (rests of foam are very useful) on both parts you want to connect and let it dry a few minutes until it will stick no longer to your fingers. Then apply a second layer of contact cement cause the foam will suck a lot of glue in and of cause you want to have a seamless bonding!
creating the basic shape of your prop
After the second layer of contact cement isn't sticky anymore, start putting the parts together on one corner and don't hurry: You only have one try. Then, press it together real good.
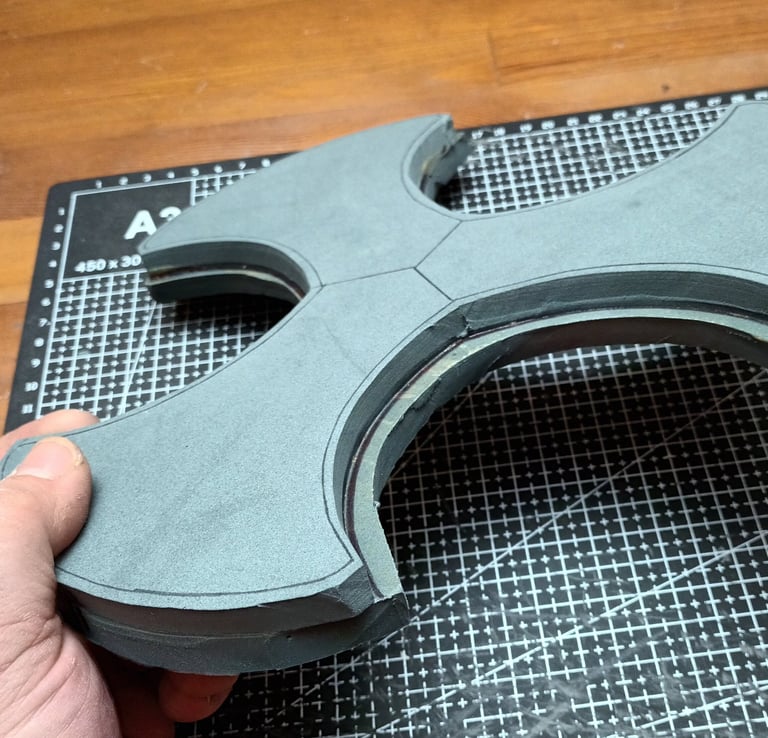
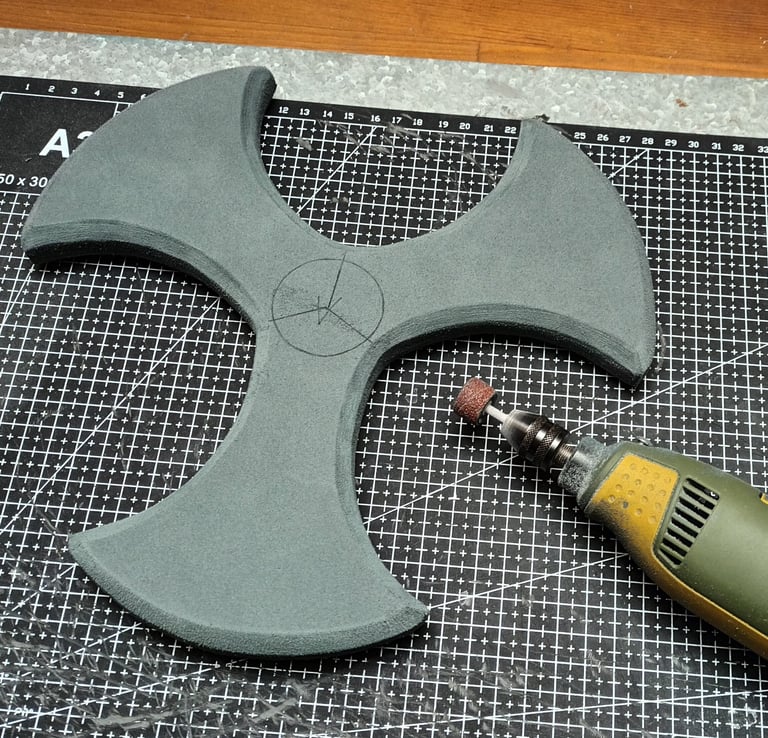

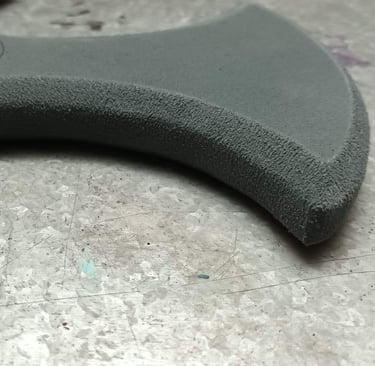
Remove excess EVA foam but this time, be aware to cut in the correct angle. Smoothen the cutted areas a bit with your rotary tool or sanding paper. Wear a dusk mask and try to grind next to a vacuum cleaner if you're sanding indoors.
Now you can start working on the edges. Therefore, a rotary tool works very well. Use nearly no pressure on your foam and let the tool run over the material in the direction of it's rotation like a wheel rolls over a street – this helps you to avoid notches.
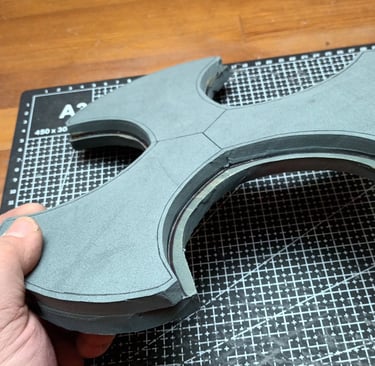
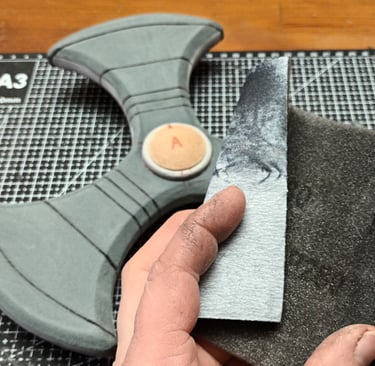
The surface of the grinded areas will not look very smooth. Sand it a bit with a finer grit if necessary.
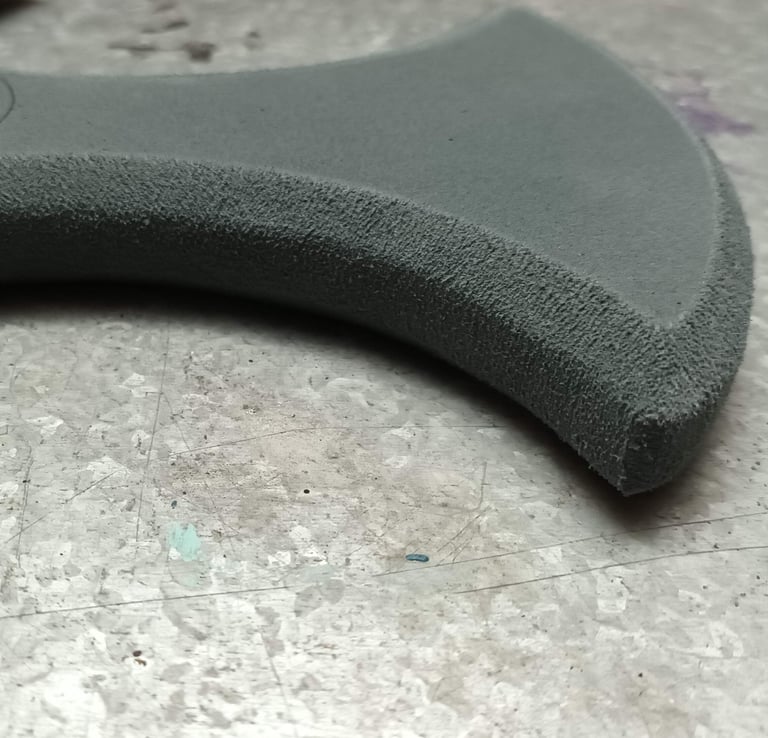
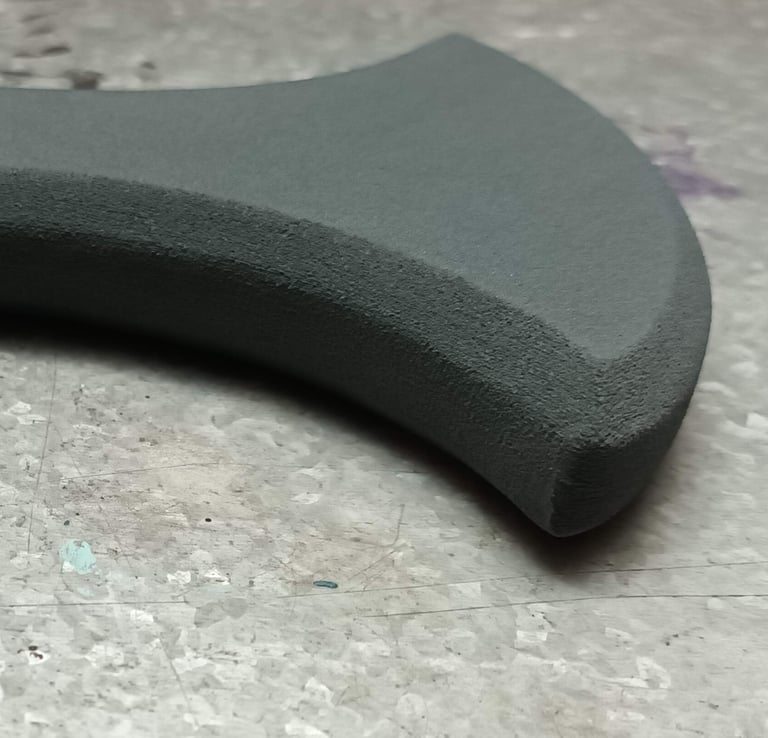
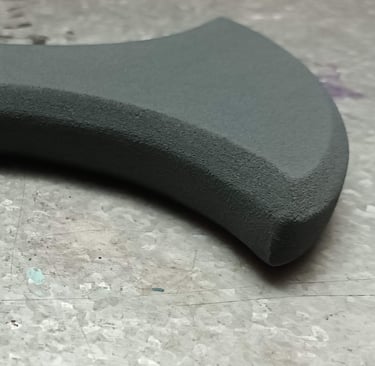
After a quick heatgunning of the whole surface and the sanded areas, the surface is much smoother.
It occurs that the heatgun lets the glue seams pop off a bit or that you'll find some leaks in the EVA foam. Use light acrylic structure paste or Kwik Seal (water and a small sponge will help you smoothen the paste) to seal those small gaps and sand it plain and properly after it has completely dried.
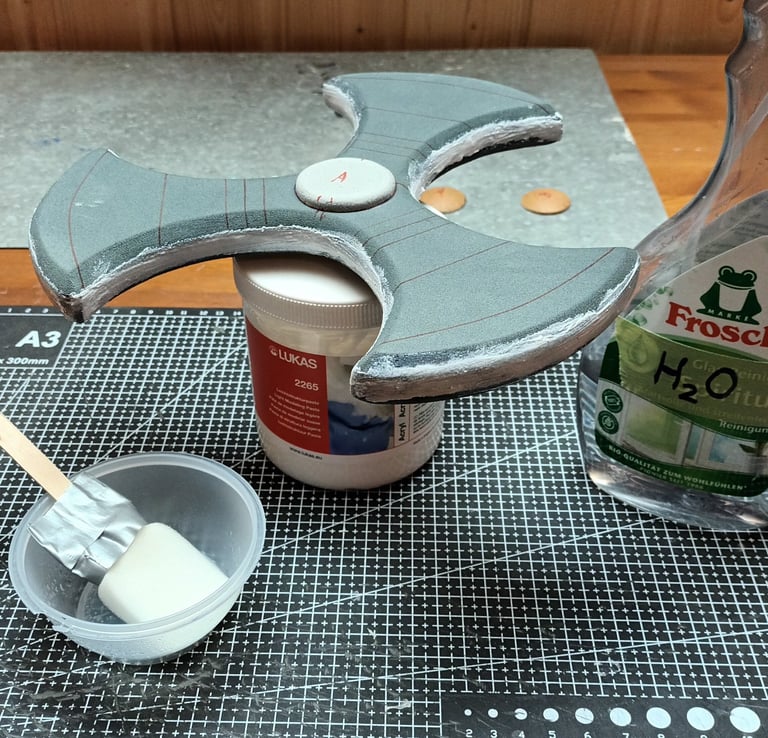
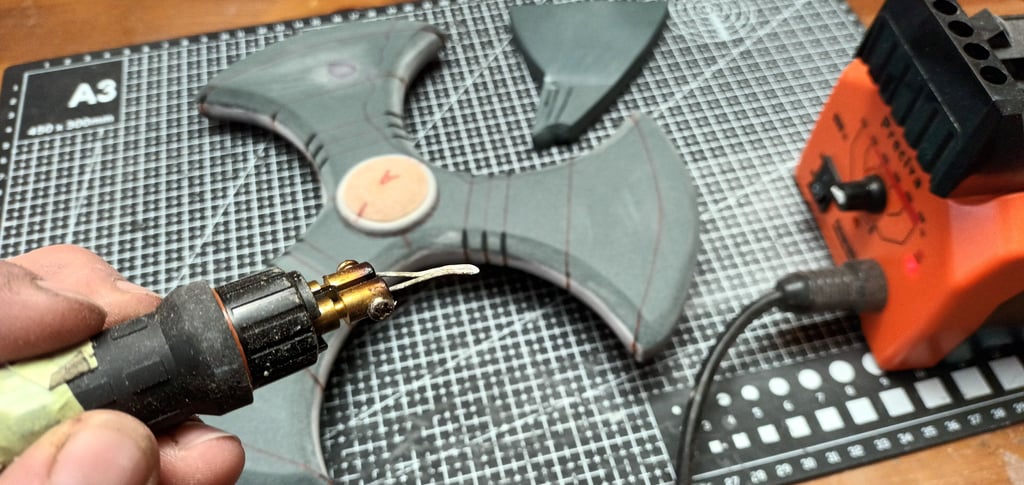
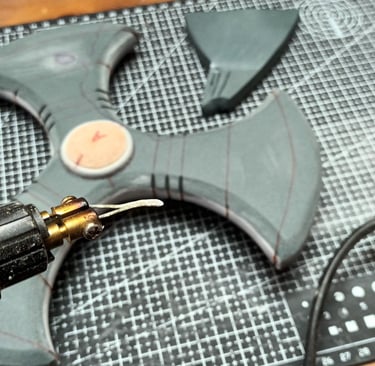
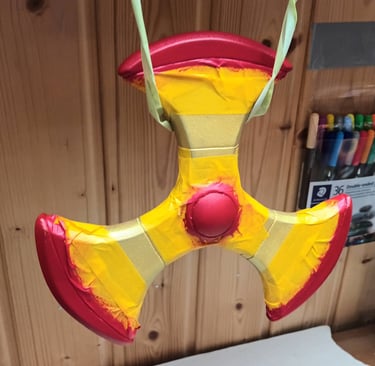
Now it's your choice to add three-dimensional separations between different areas or just paint them in different colors without plasticity. I cutted my template and transferred the color separating lines step by step on all wings of the Boomer-Ra and added some extras for the jewel-like red center. Then the pyrography piston helps me to engrave the lines into the EVA foam (that process is really stinky – wear a paint mask or something similar to avoid inhaling the toxic smoke! Working outdoor is also a good choice ;-] )
Before adding any primer or paint on your prop, make sure it's surface is absolutely perfect: That means smooth and free of any dust, hairs, etc.!
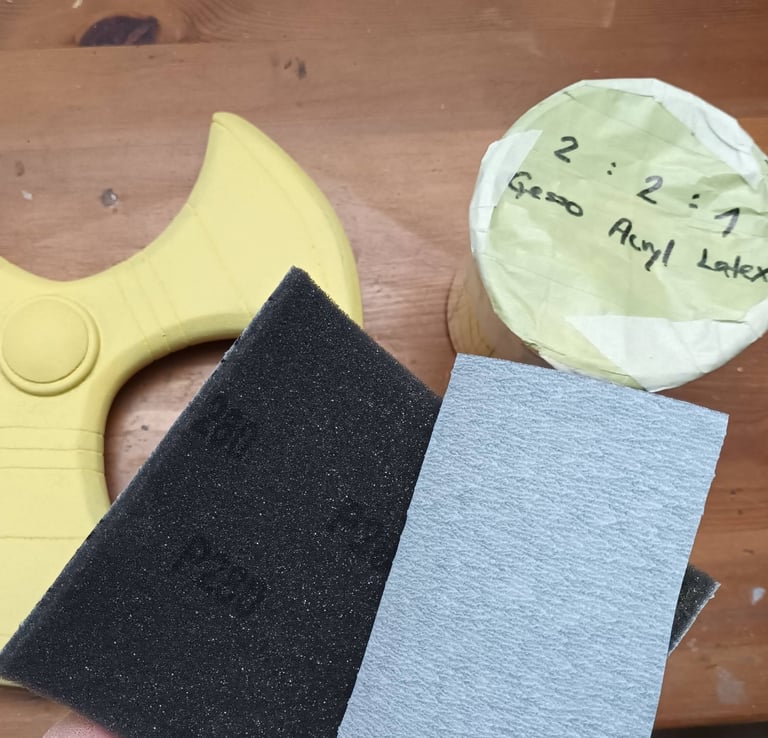
For sanding small, sharp details like burnt lines I recommend you grain 150 of paper-based sandpaper and grain 280 of fleece-based sandpaper for larger areas.


Start by priming the surface: Plasti Dip works great for this. Spray layers of Plasti Dip until you can't see pores anymore: This mostly means at least three coats. Keep your health and the environment in mind everytime.
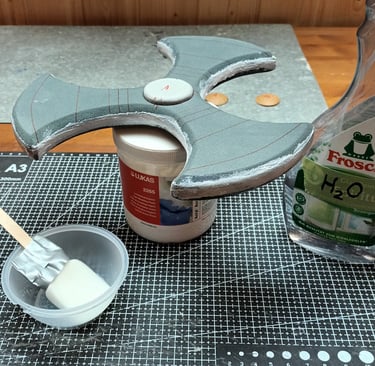
Let the primer dry completely and then apply a layer of a flexible base color. You can buy premade ones or mix it on your own. I used two parts of Gesso, two parts of acrylic paint and one part of liquid latex milk. You could bring it on with a brush and smoothen it with dipping a sponge over the paint if you don't have a spray can or airbrush equipment. Sand it again, if necessary.
painting your EVA foam prop
Here you can see my standard tools for applying thicker colors (except the brush). This sponge won't do it much longer for creating a smooth surface.. but sometimes you don't want the surface to be too smooth for extra effects like adding weathering effects later...? ;-)
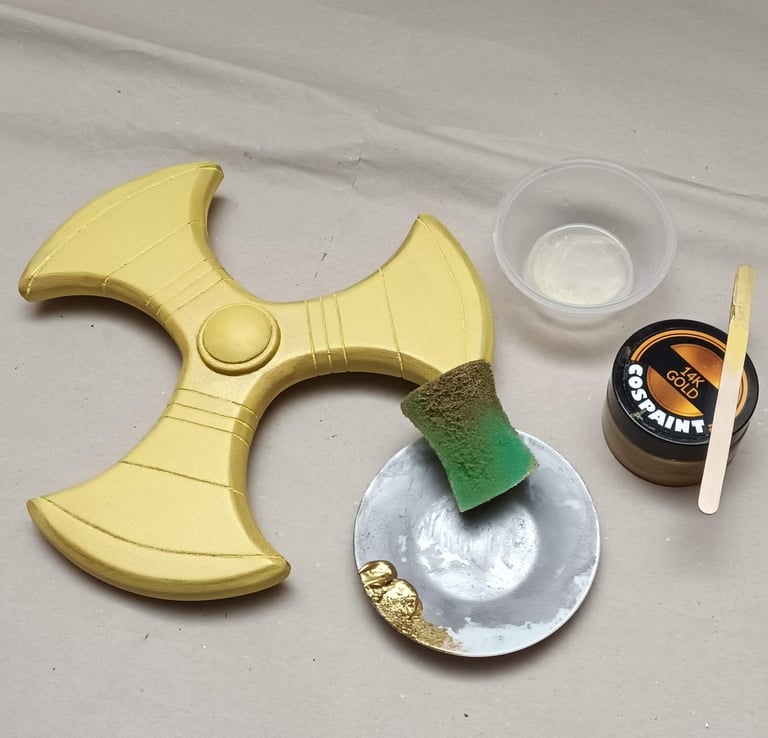


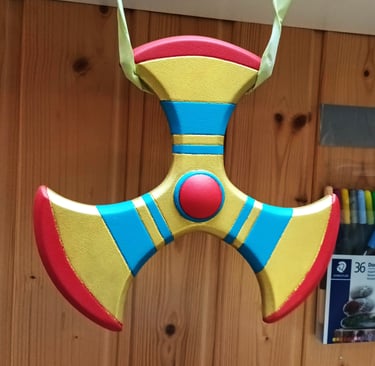
If you want to avoid any brush stroke, go on with the sponge technique and use masking tape to get sharp lines. Don't buy too cheap masking tape – most times it's to thick to stick well around sharper corners. Press it on firmly and first apply the color you used before to fill all unvisible areas that are maybe not masked correctly. Then add the preferred color for the area.
Unmask if necessary, mask and paint again, use a small brush to correct mistakes. Repeat until you're done with all areas. You can see that the engraved lines are often not perfect until now, but they're getting patinated later so they're good enough right now.

A hairdryer set to cold could help you shorten the time till the contact cement is ready.
Save sheets of packing paper from your deliveries to use it later as a painting surface.
extra tips for prop-crafting
Start engraving with around 200°C to have a better control of the piston tips' burning process.
Seal the paint container with adhesive tape to keep the paint usable for longer.
When sanding, not pressure but durability is the key.
Onlineshop
Social Media
Contact
© 2026 | The reproduction of any content without my permission is prohibited.
Sustainability
With this label we would like to show that we are a customer of Der Grüne Punkt - Duales System Deutschland GmbH in Germany and that our sales packaging for the German market participates in the dual system Der Grüne Punkt.