A fluffy long tail
with little effort
Workshop

Worblas Meshed Art or Finest Art and possibly KobraCast
a bowl of water
painting stuff
hot air gun, hot glue gun, brushes, sharp knife, adhesive tape
whool, hair or synthetic fur
tools and materials
You'll need:
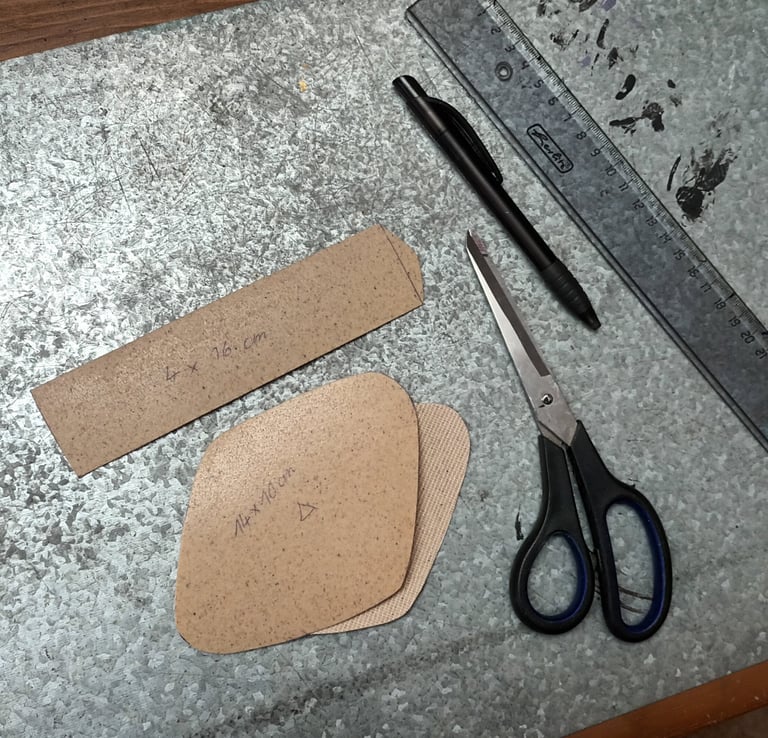
In this tutorial I show you how to build a tail which you can easily hang over the border of your trousers without the need to cut a hole in those. So cut out two times a small plate to hold the tail in line while wearing it and a strip to attach the tail itself to it out of Worbla. The millimeter doesn't matter here.

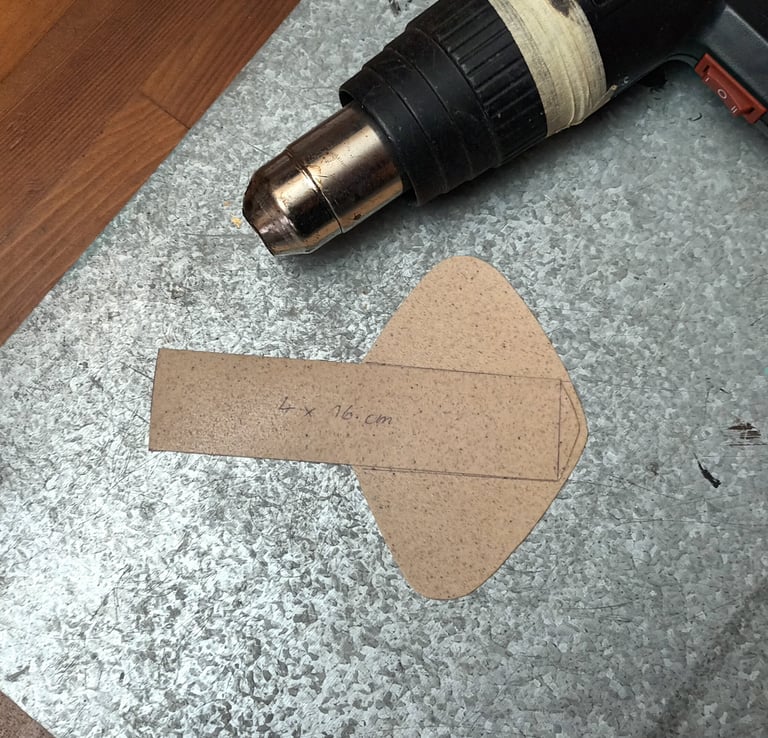


Heat up one plate part and the connecting strip and put it together.
If the Worbla sticks to your fingers or you burn them with hotglue, the bowl of water is your best friend.
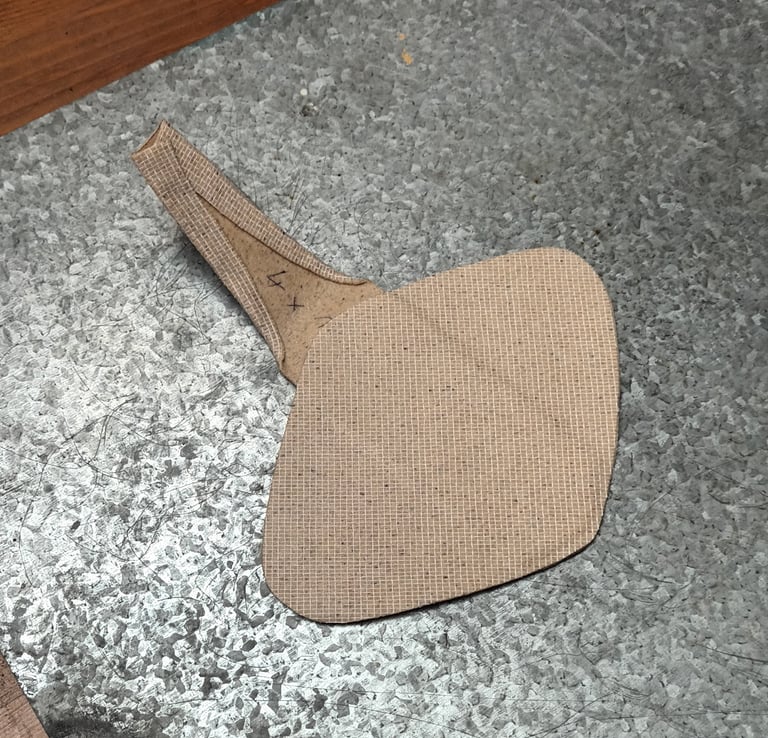
Heat up the other plate part and put it with the non-meshed side down on the first one for more stability. Flap around the long sides of the connecting strip as shown in the picture.
building the base form
Form the connecting part to a nice angle. Later you can do little corrections to it until you add heat-sensitive fur.
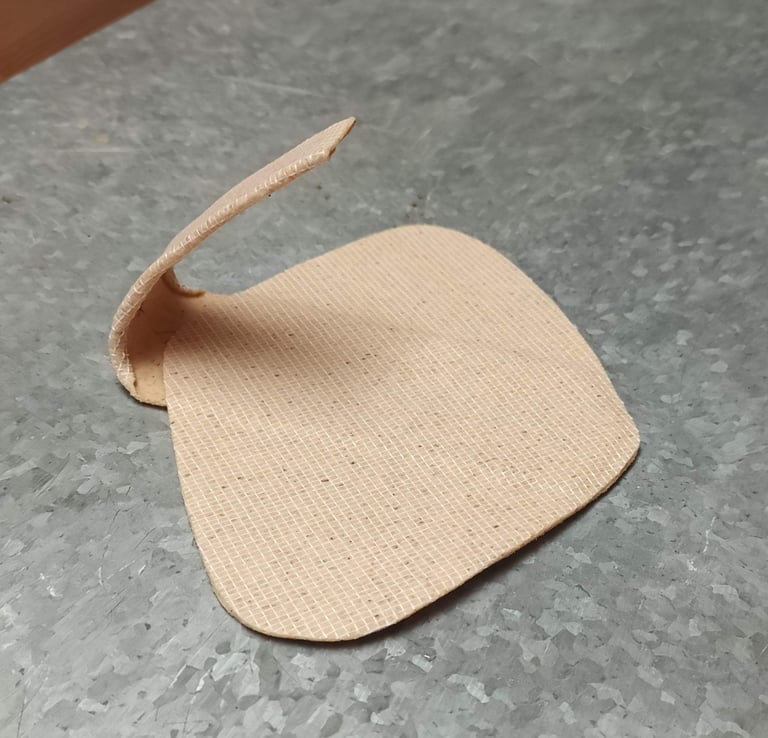

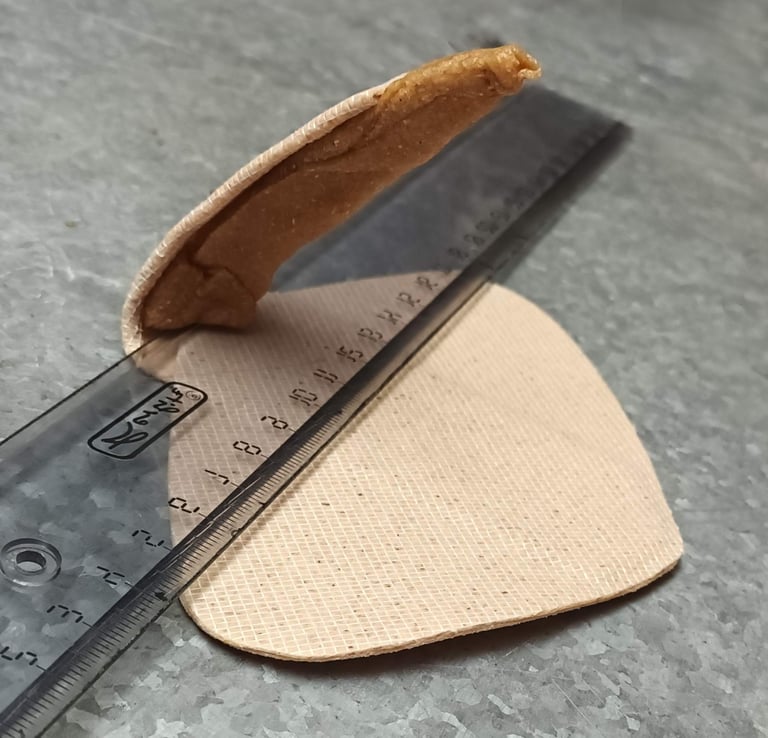

Take some Worbla and put it under the connecting part to stabilize the angle. Leave a small gap to the plate part - this is where you hang it on your trousers later.
bringing the tail in form
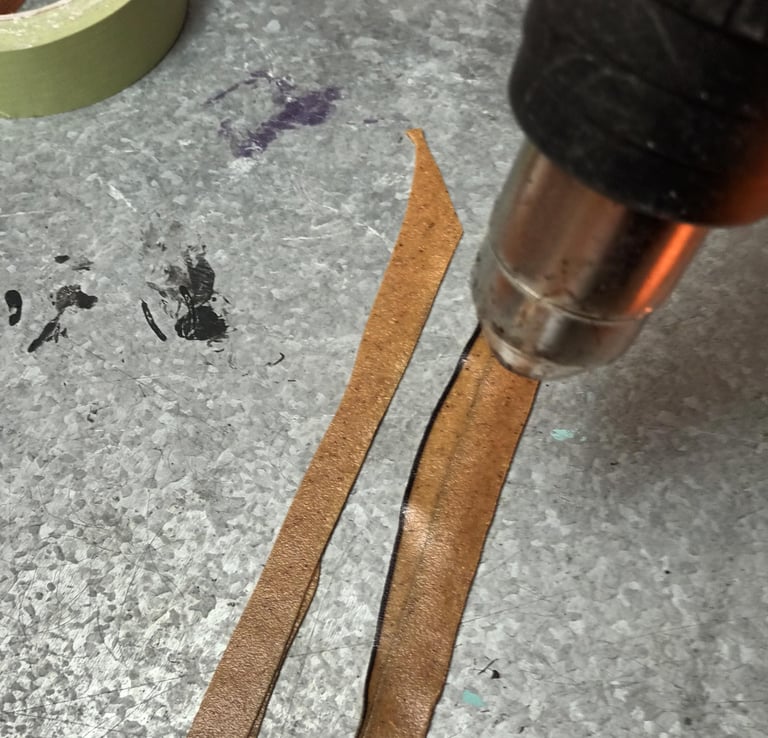

Heat up Worbla stripes to create the length of the tail. This is a great chance to use scrap parts!
Lay it on a side and add more and more parts till you've nearly reached the length. The fur will bring the final length on the tip. Start to curve it now. It should be nearly straight but don't need to look fine.
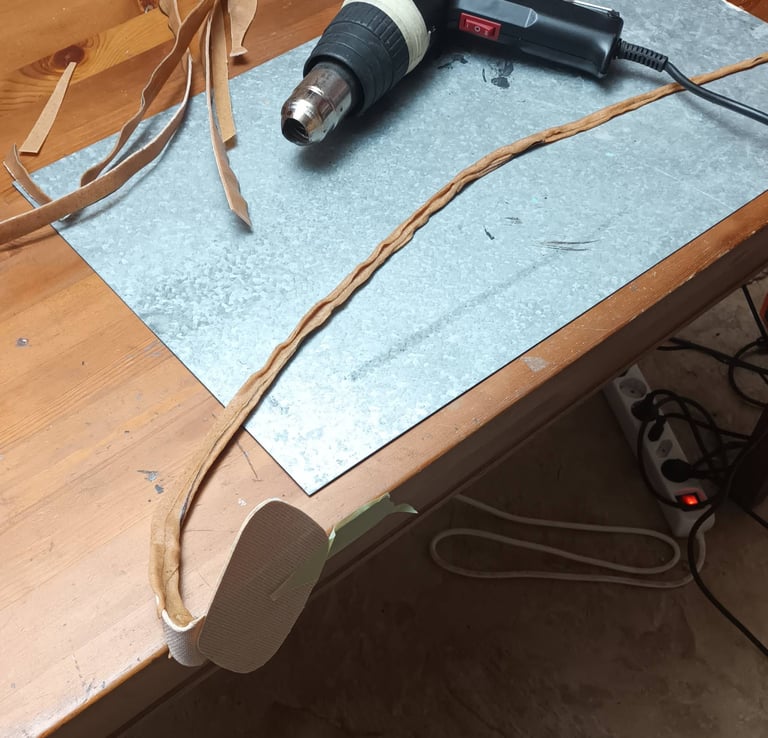

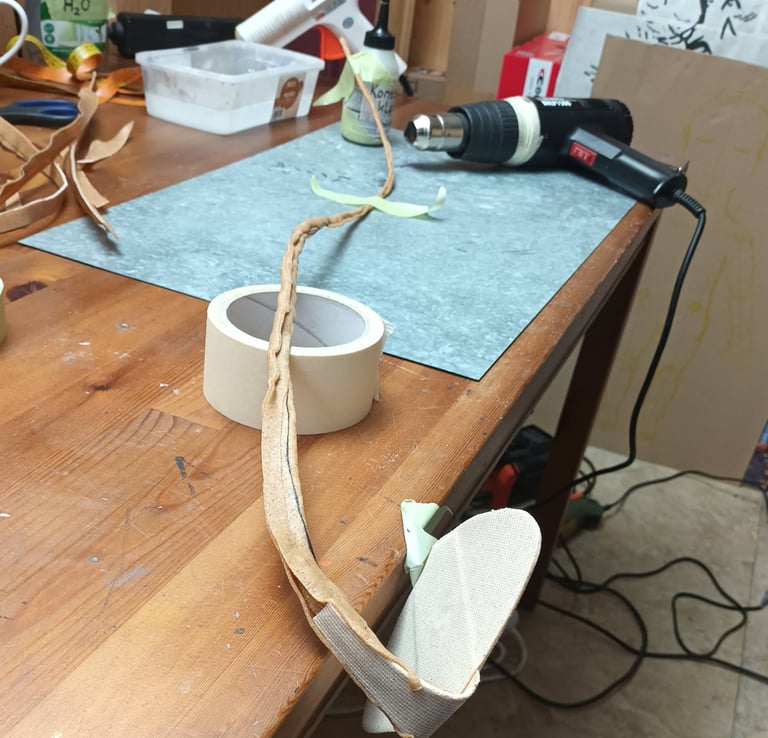

Heat the whole long part a bit and make use of adhesive tape and small things around you to bring it in a threedimensional curve.
finetuning of the tail
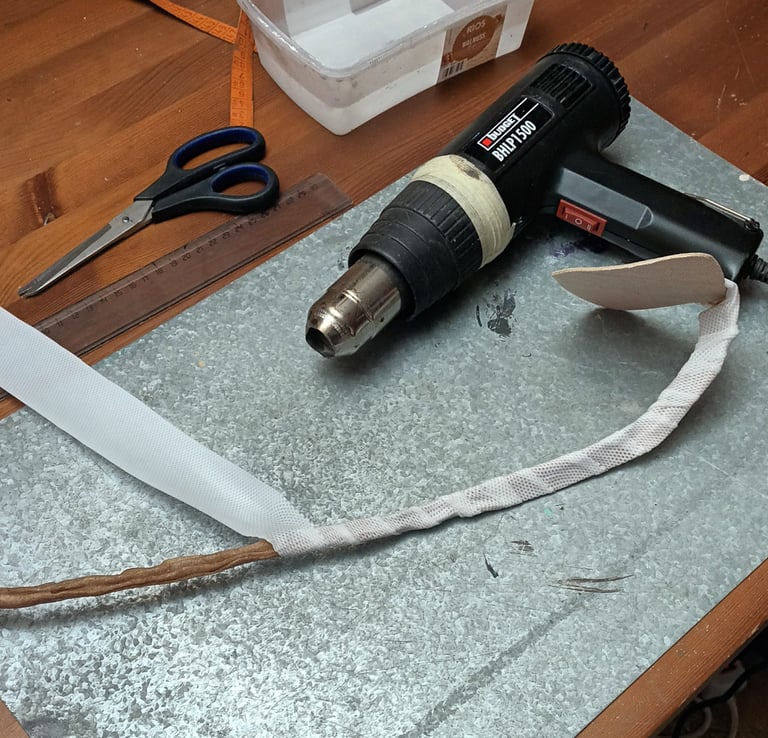

When it's completely cooled down, test-hang it on your trousers. If you like the form wrap it with KobraCast to get a nearly rounded surface.
If you're working with only a few hairs, thin whool or fur it's a good idea to paint the tail in a dark base color depending on your fur color. I'm building a black tail, so black gesso is fine. If you hang it somewhere, you can paint almost all at once.
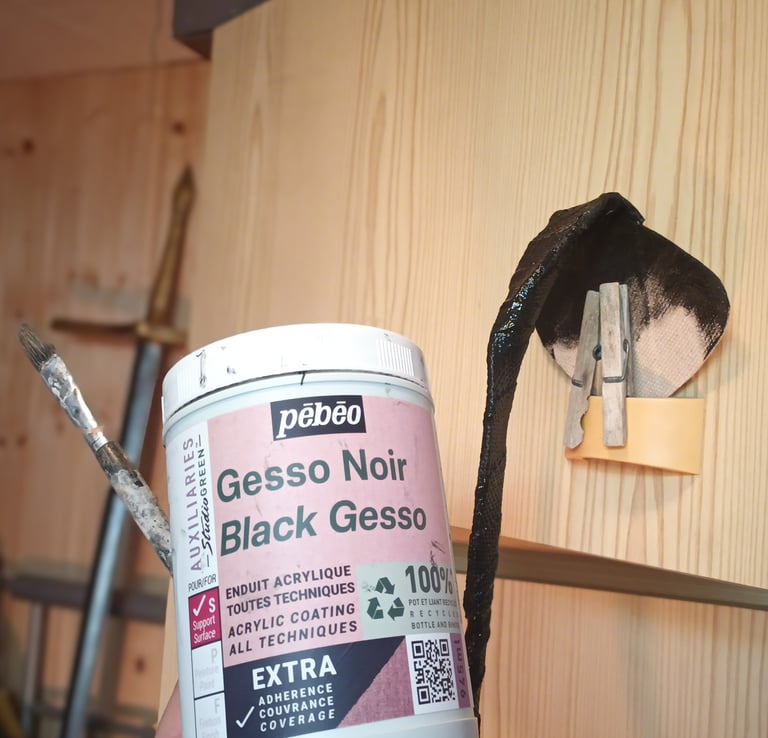

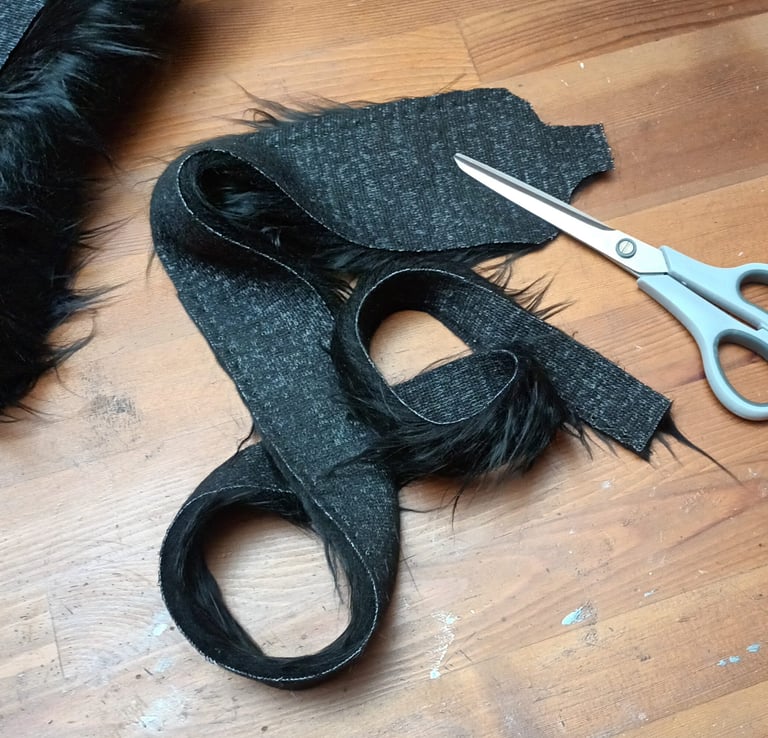

When the base color is completely dry it's time to add some fluffy stuff. If your're working with fur, measure the upper and lower surrounding and cut it like shown in the pic, but add a few millimeters in width.
paint and put the fur on it
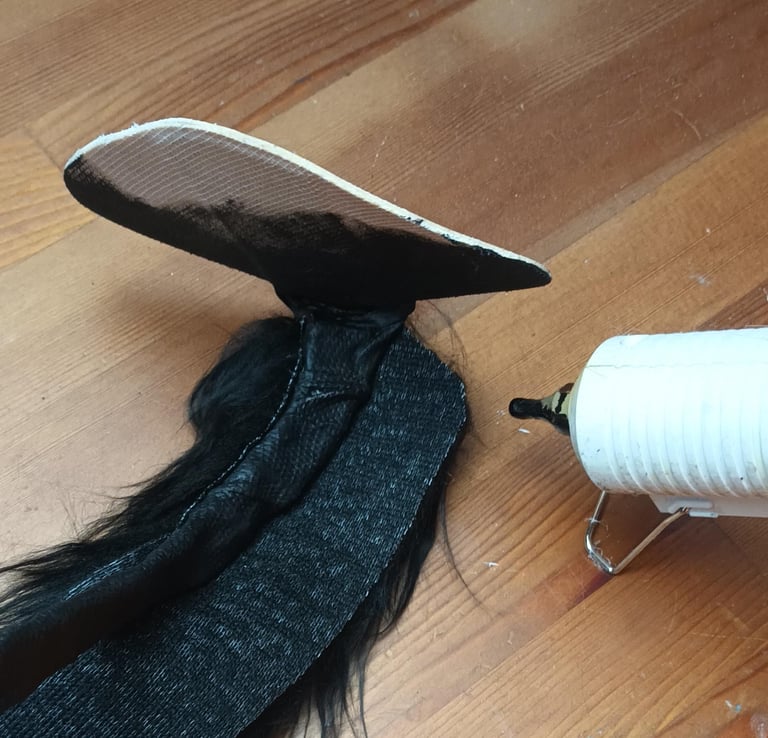

Wrap it around in one piece and put the seam under the tail. Start applying the fur with hot glue on one long side of the tail. Remove hot glue threads immediately to save yourself a lot of monotonous work later.
Now work along the other side: Hold on the fur and cut outsticking material. Save small strips if you cut too much and want to add them later.
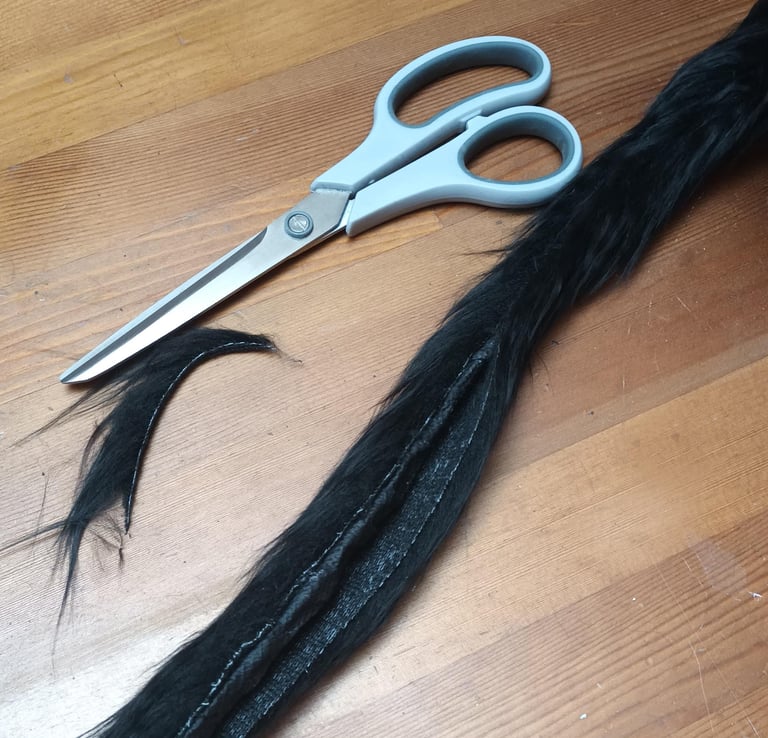

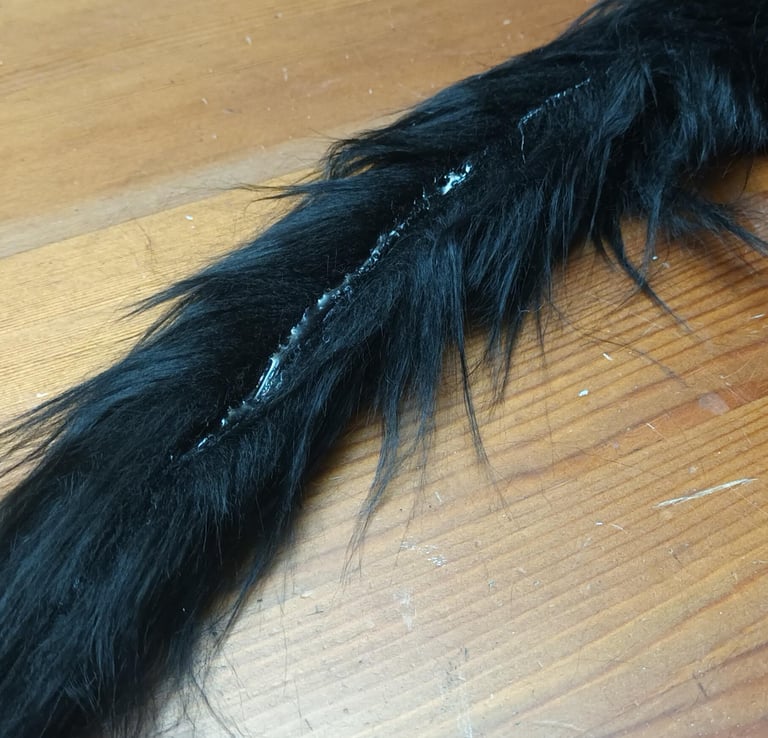

A gap at the seam easily occurs. This is where you will need to attach the small strips of fur if there is a larger gap. For smaller gaps, apply a thin line of hot glue and gently slide the fur over it from both sides alternately to hide it.
complete your cosplay tail
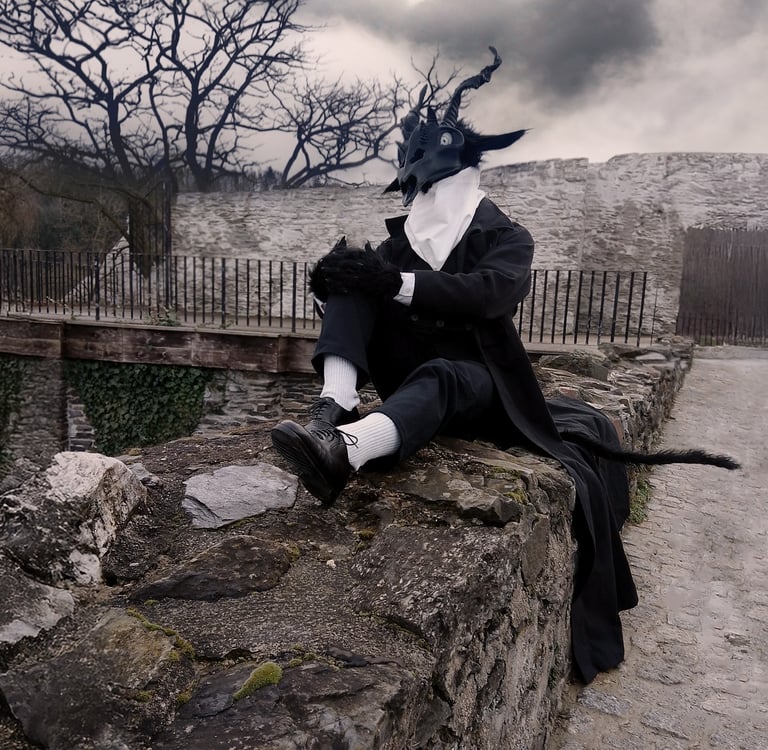
Now you can style the fur and proudly wear your brand new fluffy tail! :)


In order to cut as few long hairs as possible when cutting the fur, use pointed scissors as flat as possible.
extra tips for working with fur
When applying the fur, always try to pull the hot glue gun away in the direction of the hairs, so there are fewer ugly glued corners of fur if a little glue goes wrong.
Your hotglue gun is spitting drops on your table?
Put some strips of adhesive tape under the tip to remove them later with ease.
Onlineshop
Social Media
Contact
© 2026 | The reproduction of any content without my permission is prohibited.
